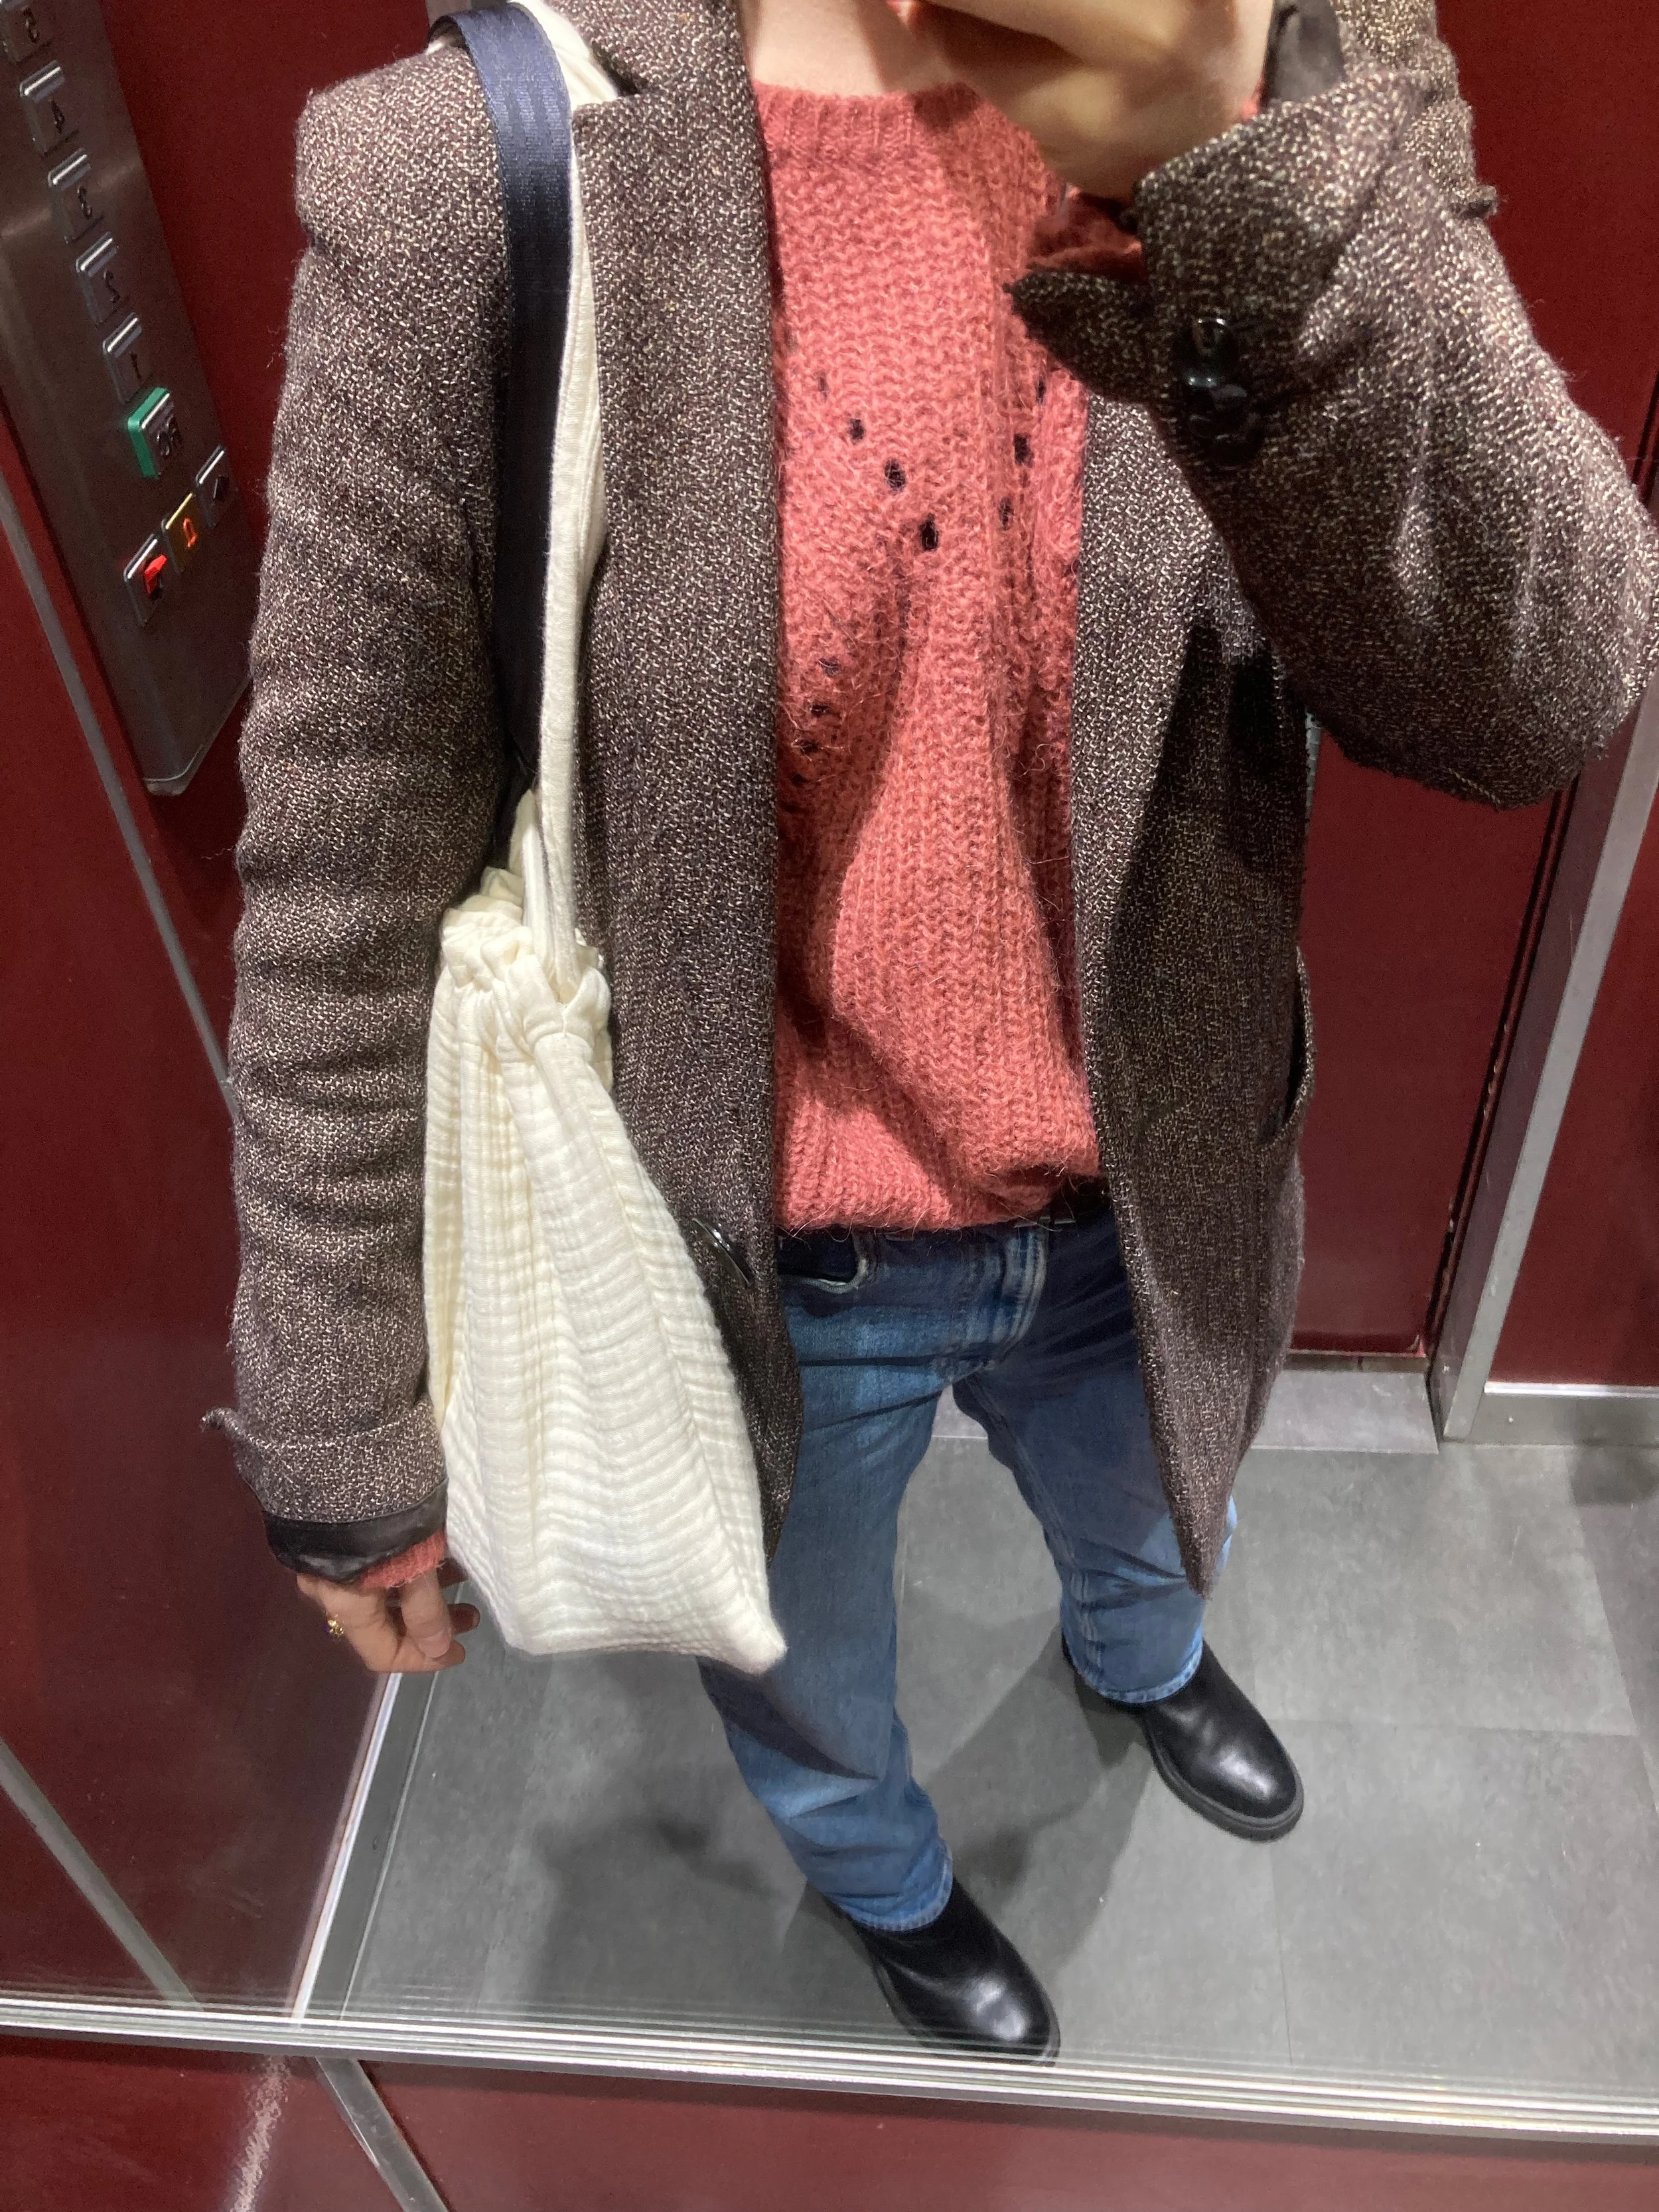
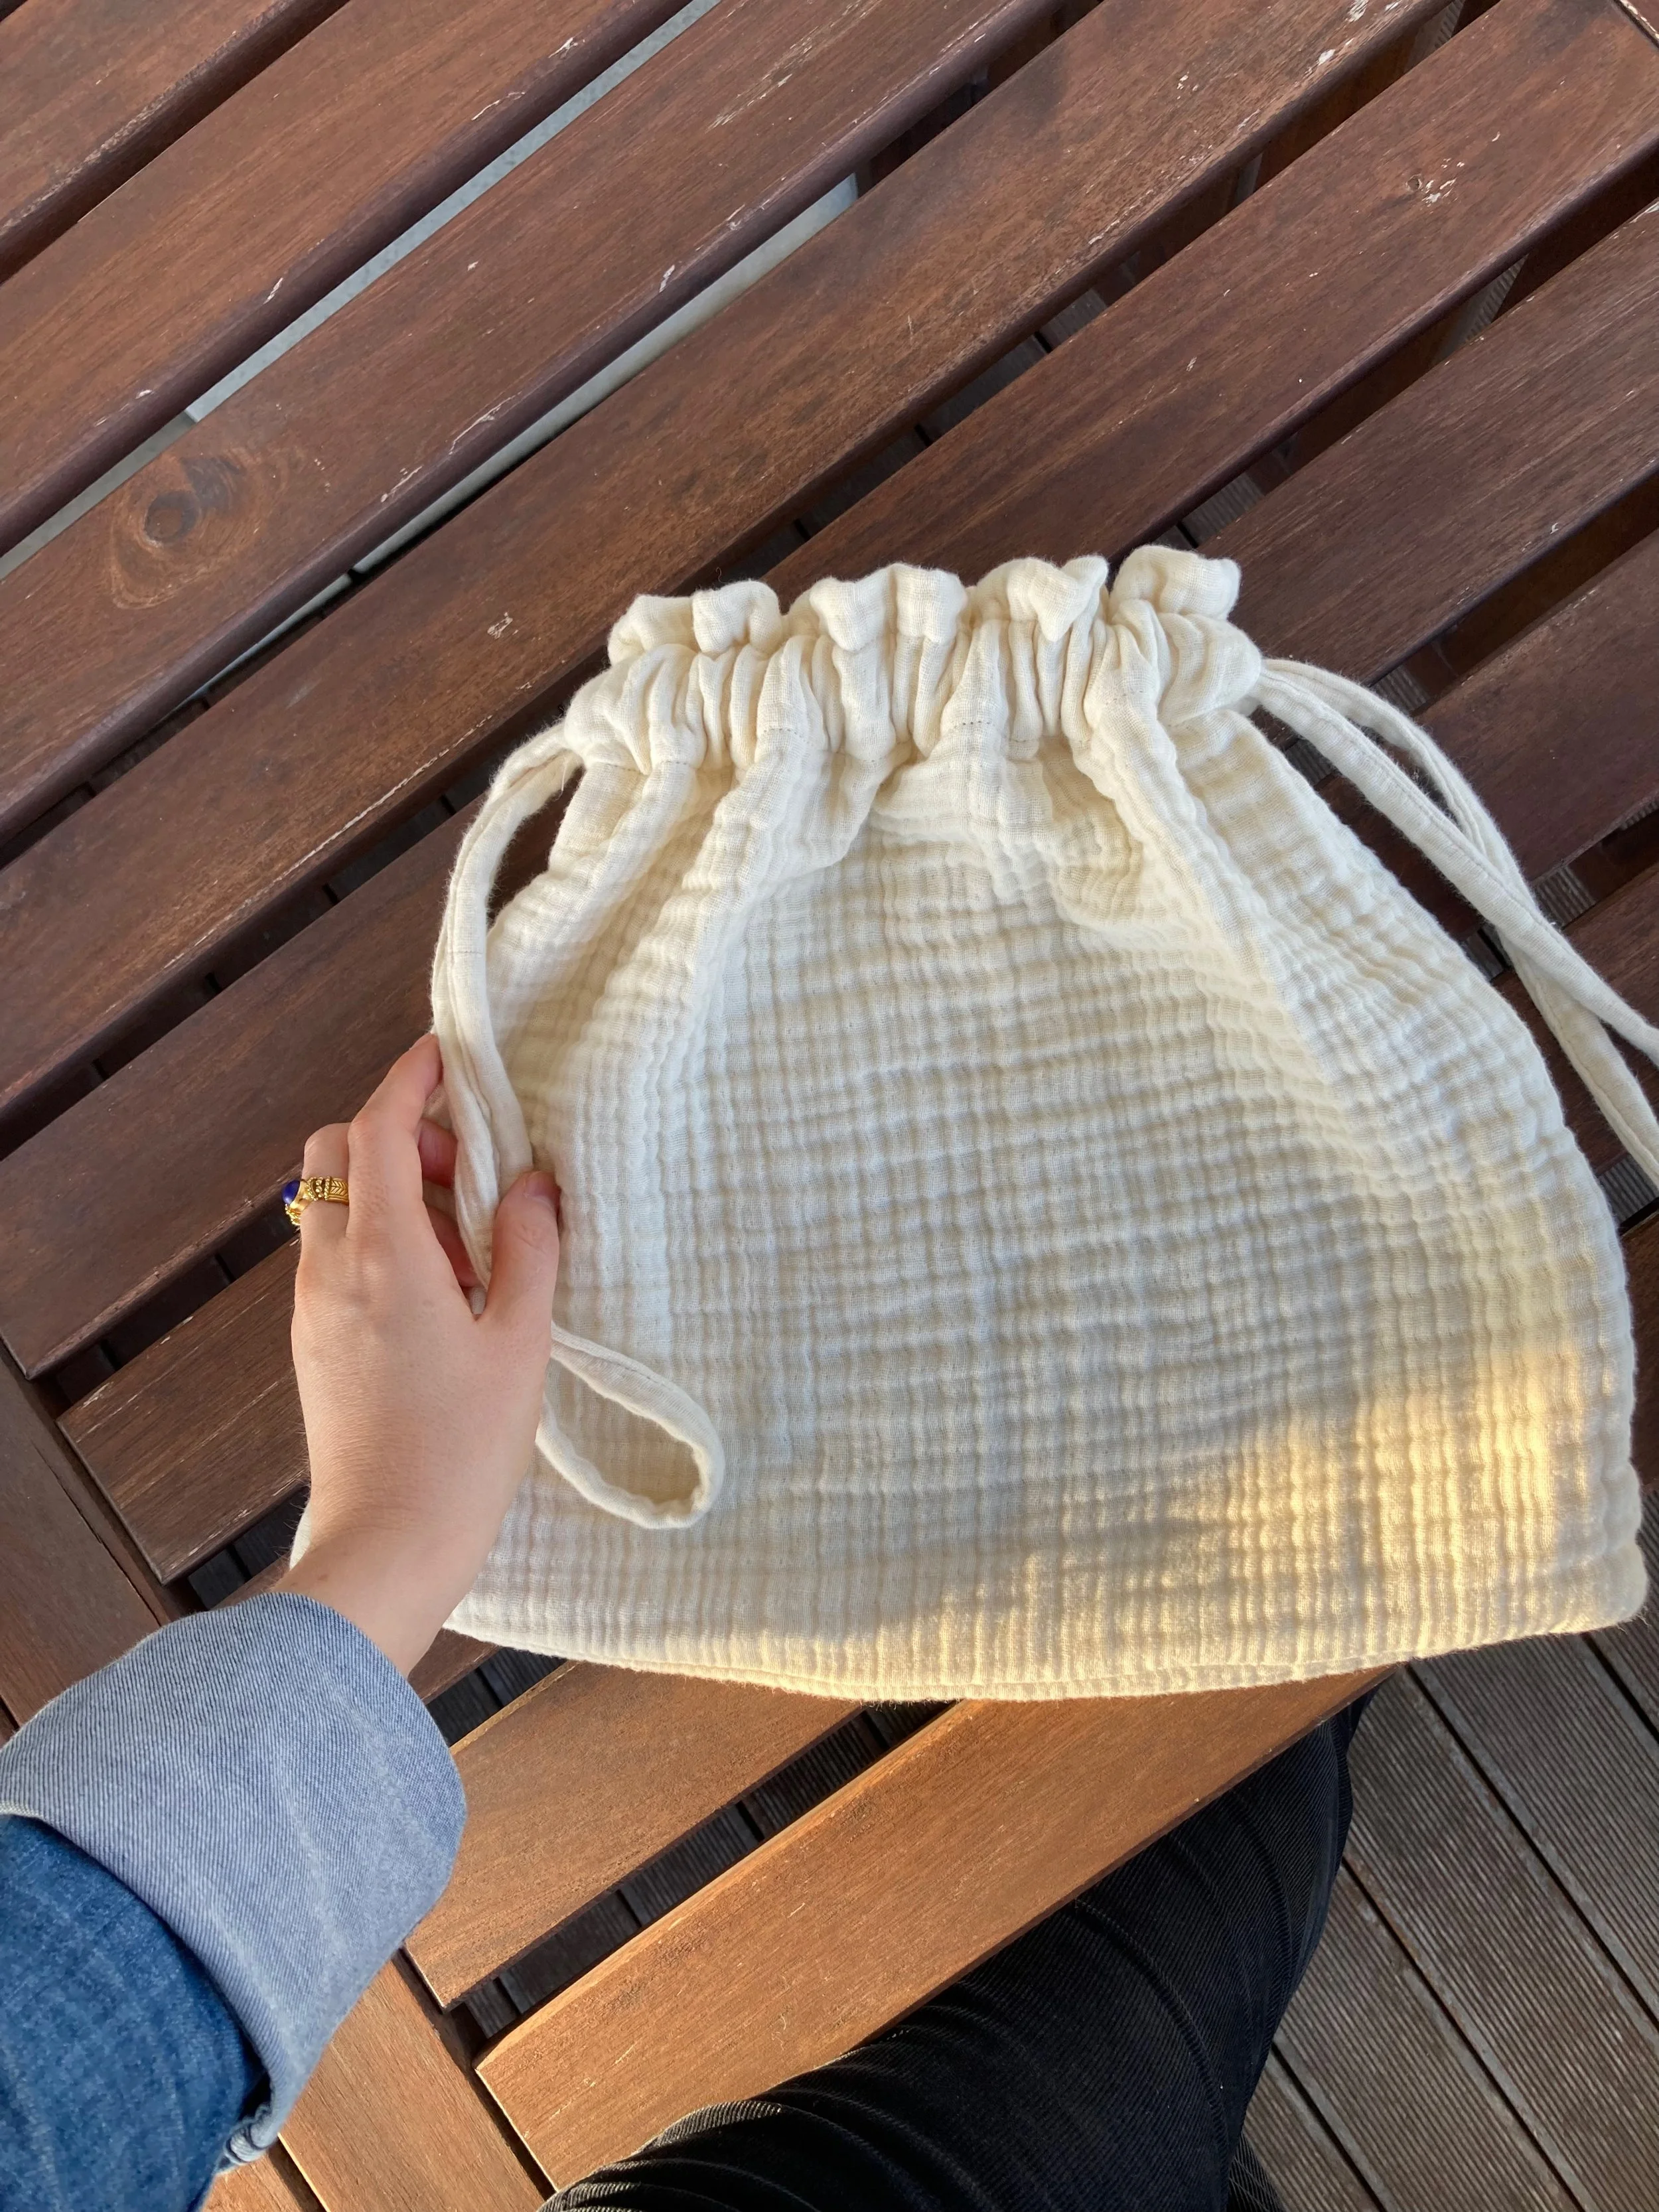
Project Bag
My yarn and knitting projects were starting to take over every corner of my living room, so I decided to make a project bag: something simple and nice to keep my ongoing projects organized.
The plan? Making a classic drawstring bag made from soft muslin cotton
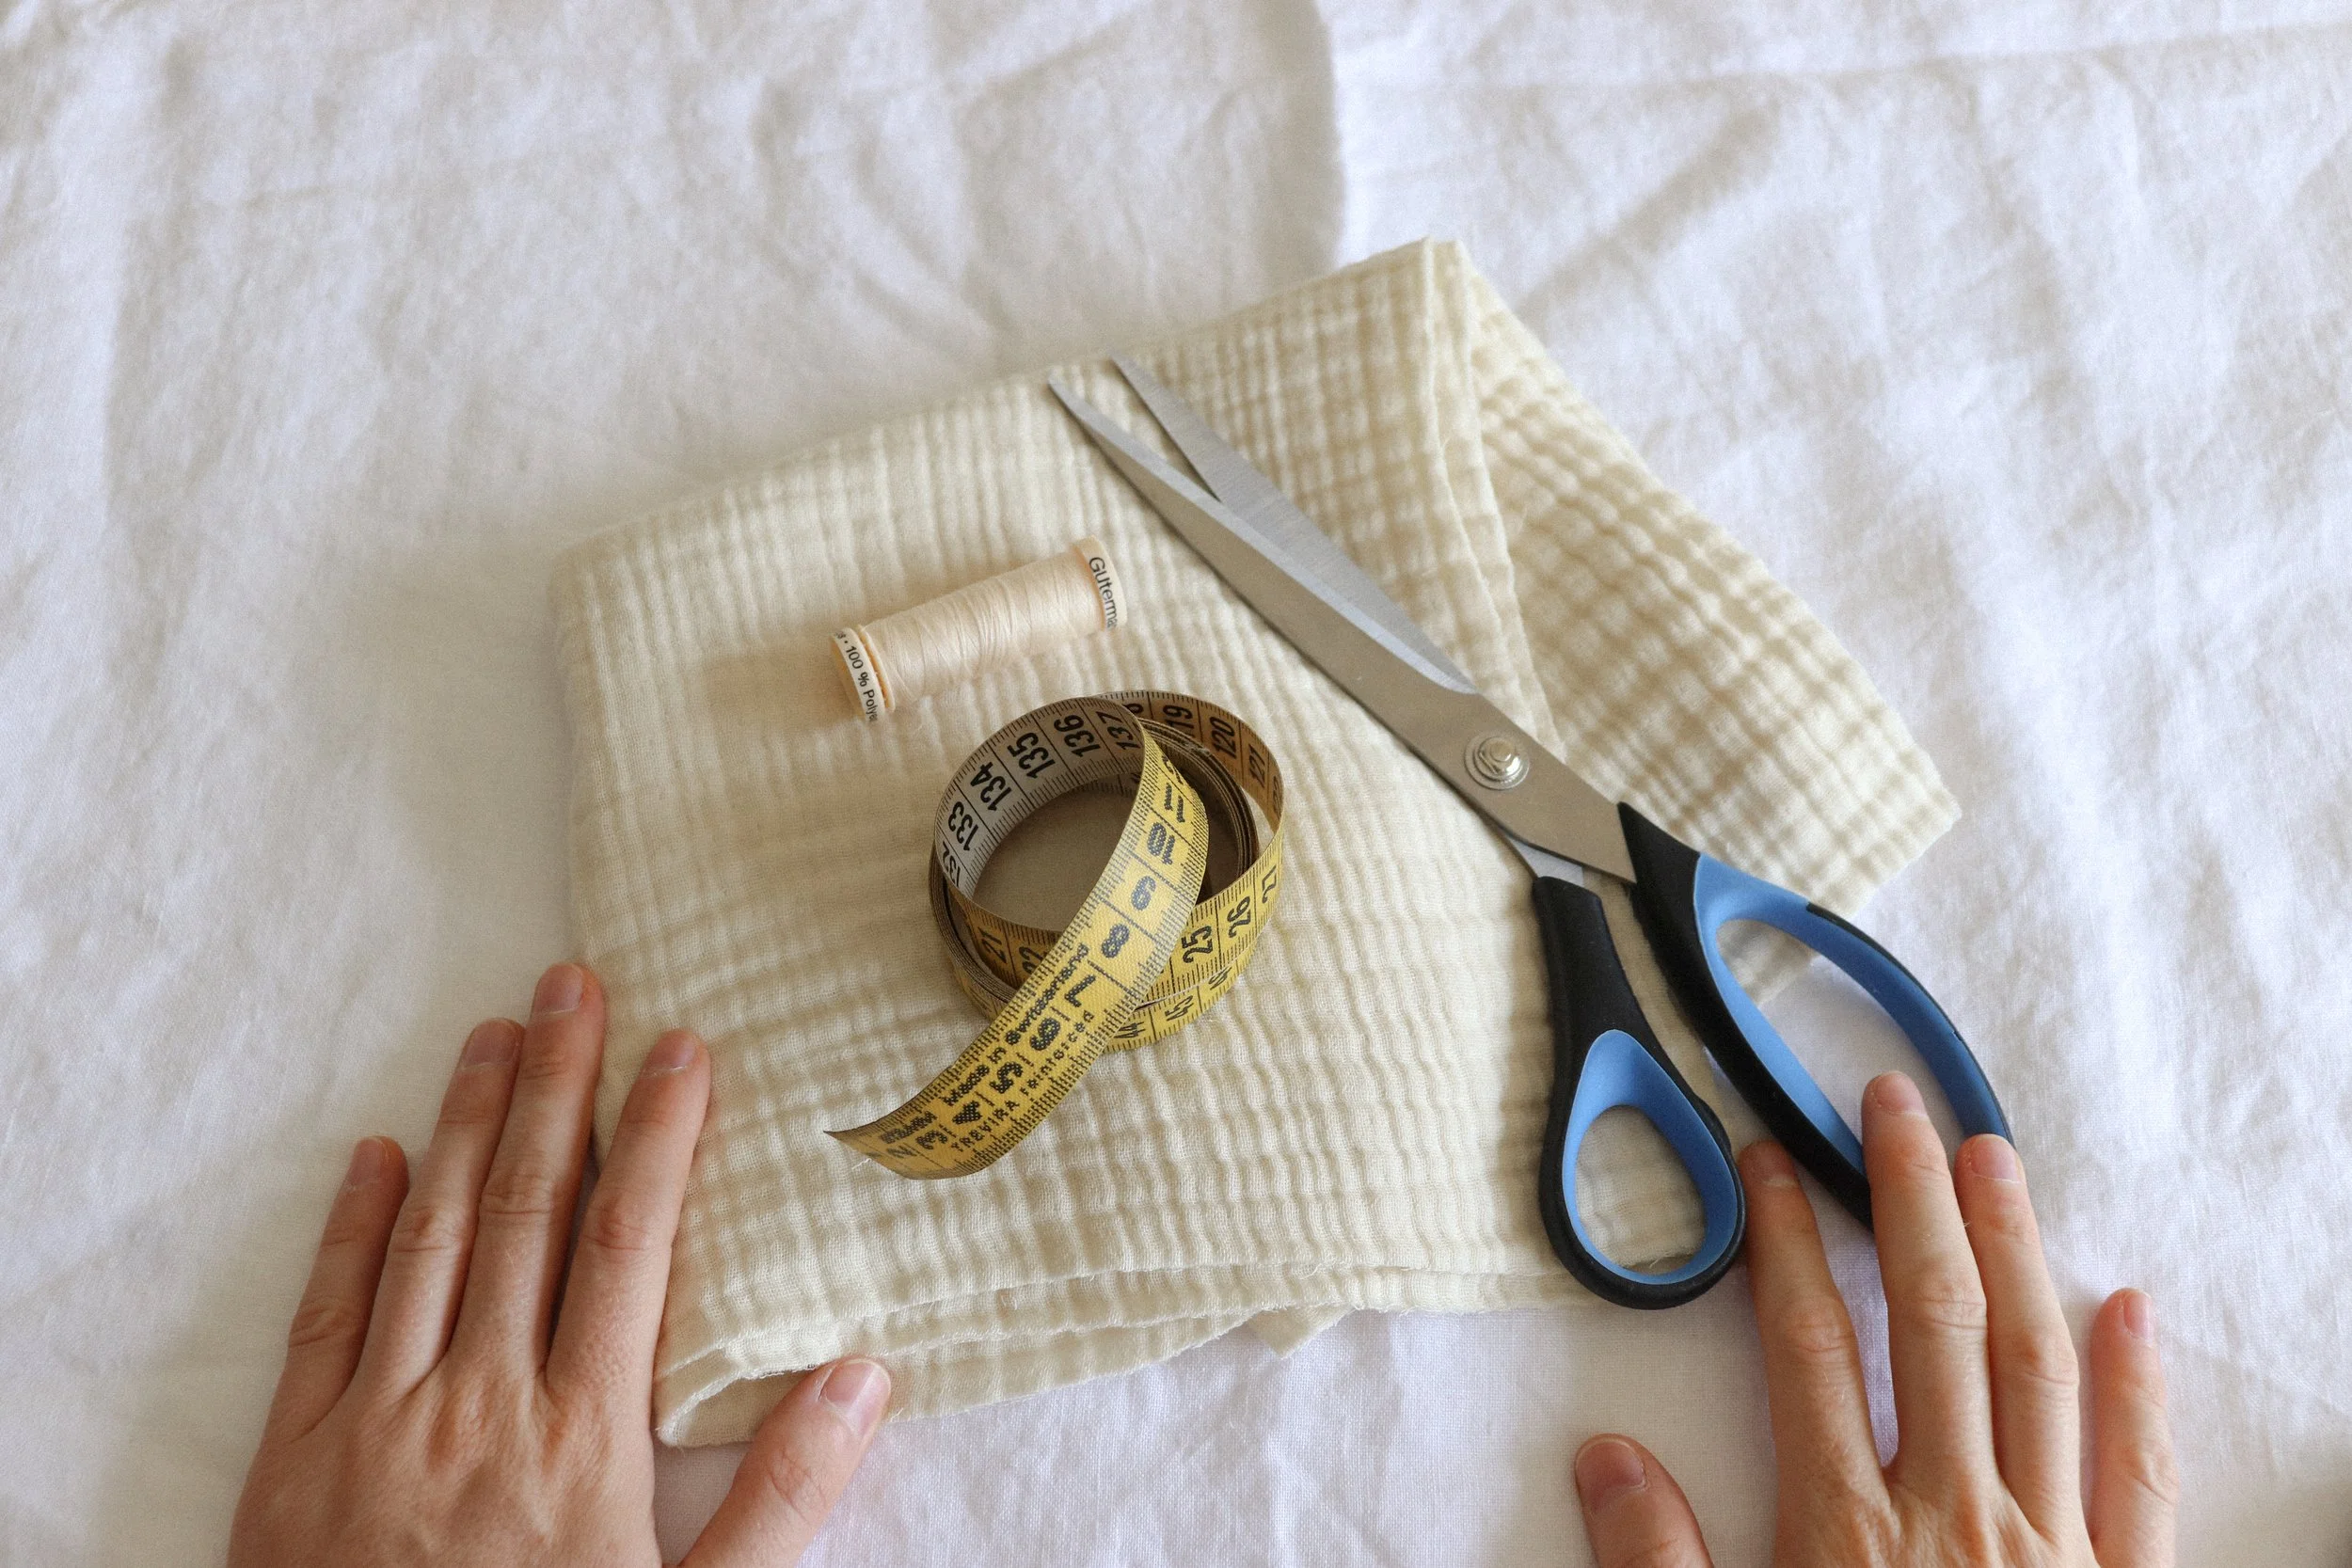
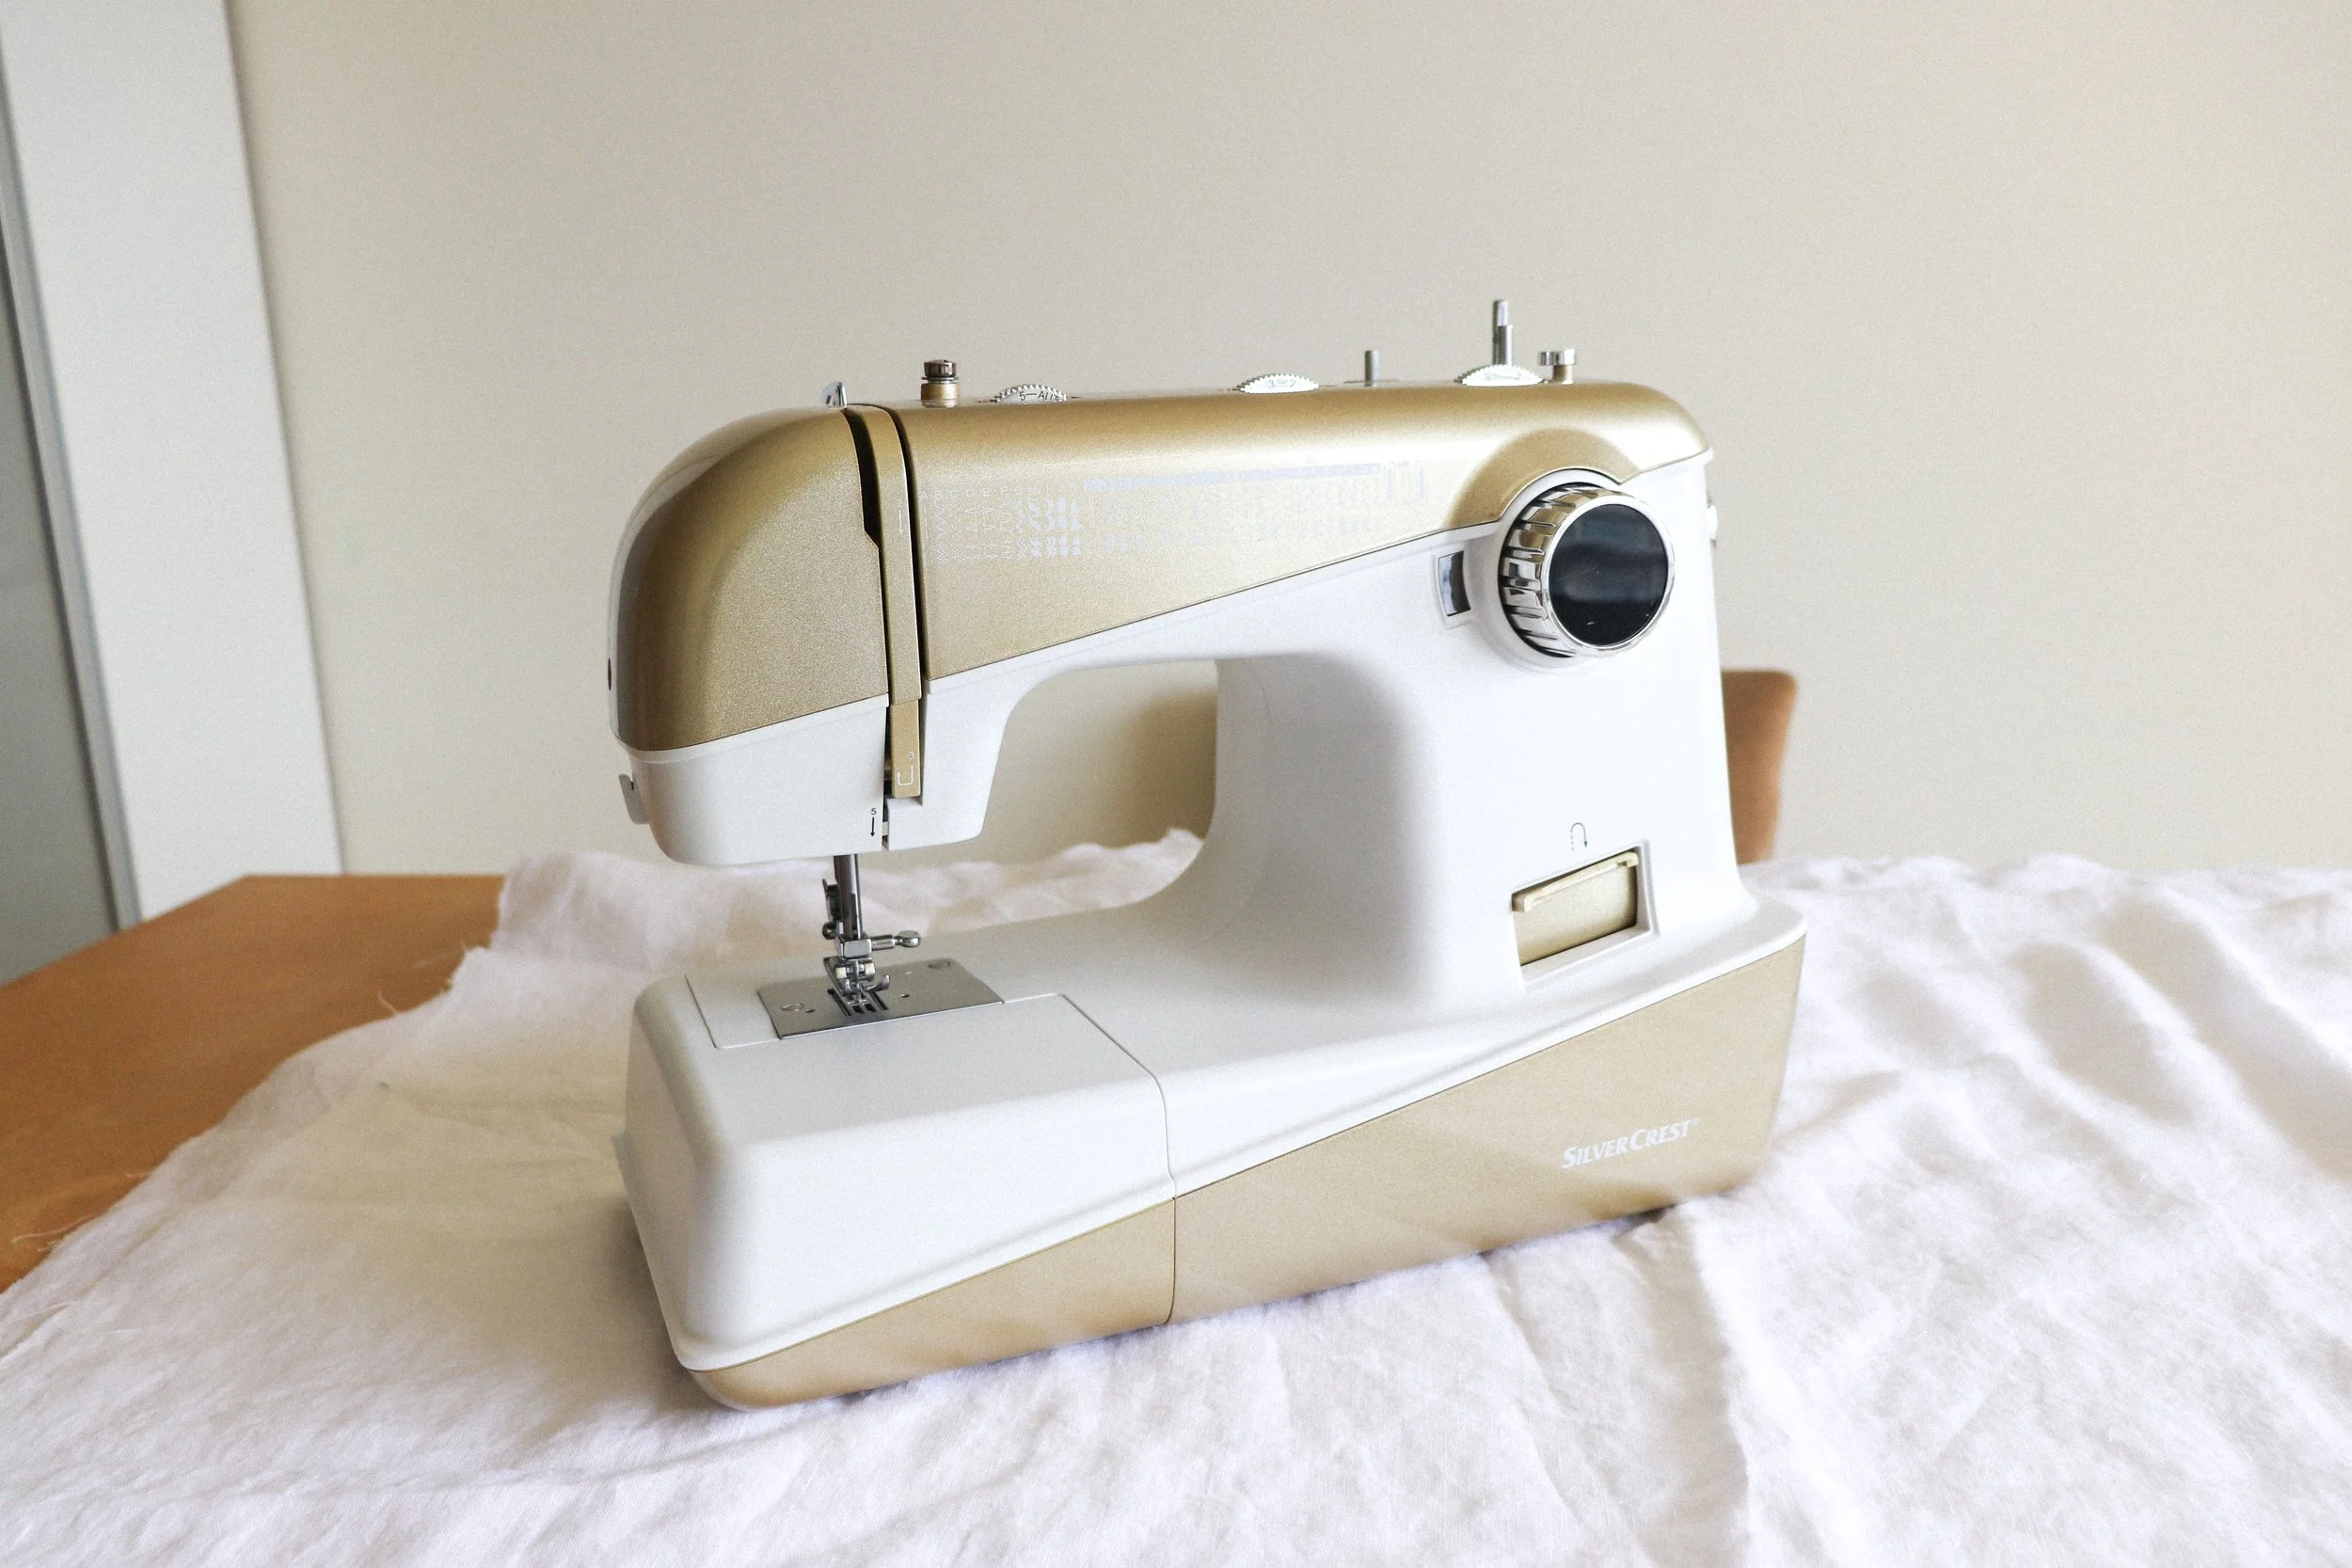
Here’s how I made it, in case you feel inspired to make one too!
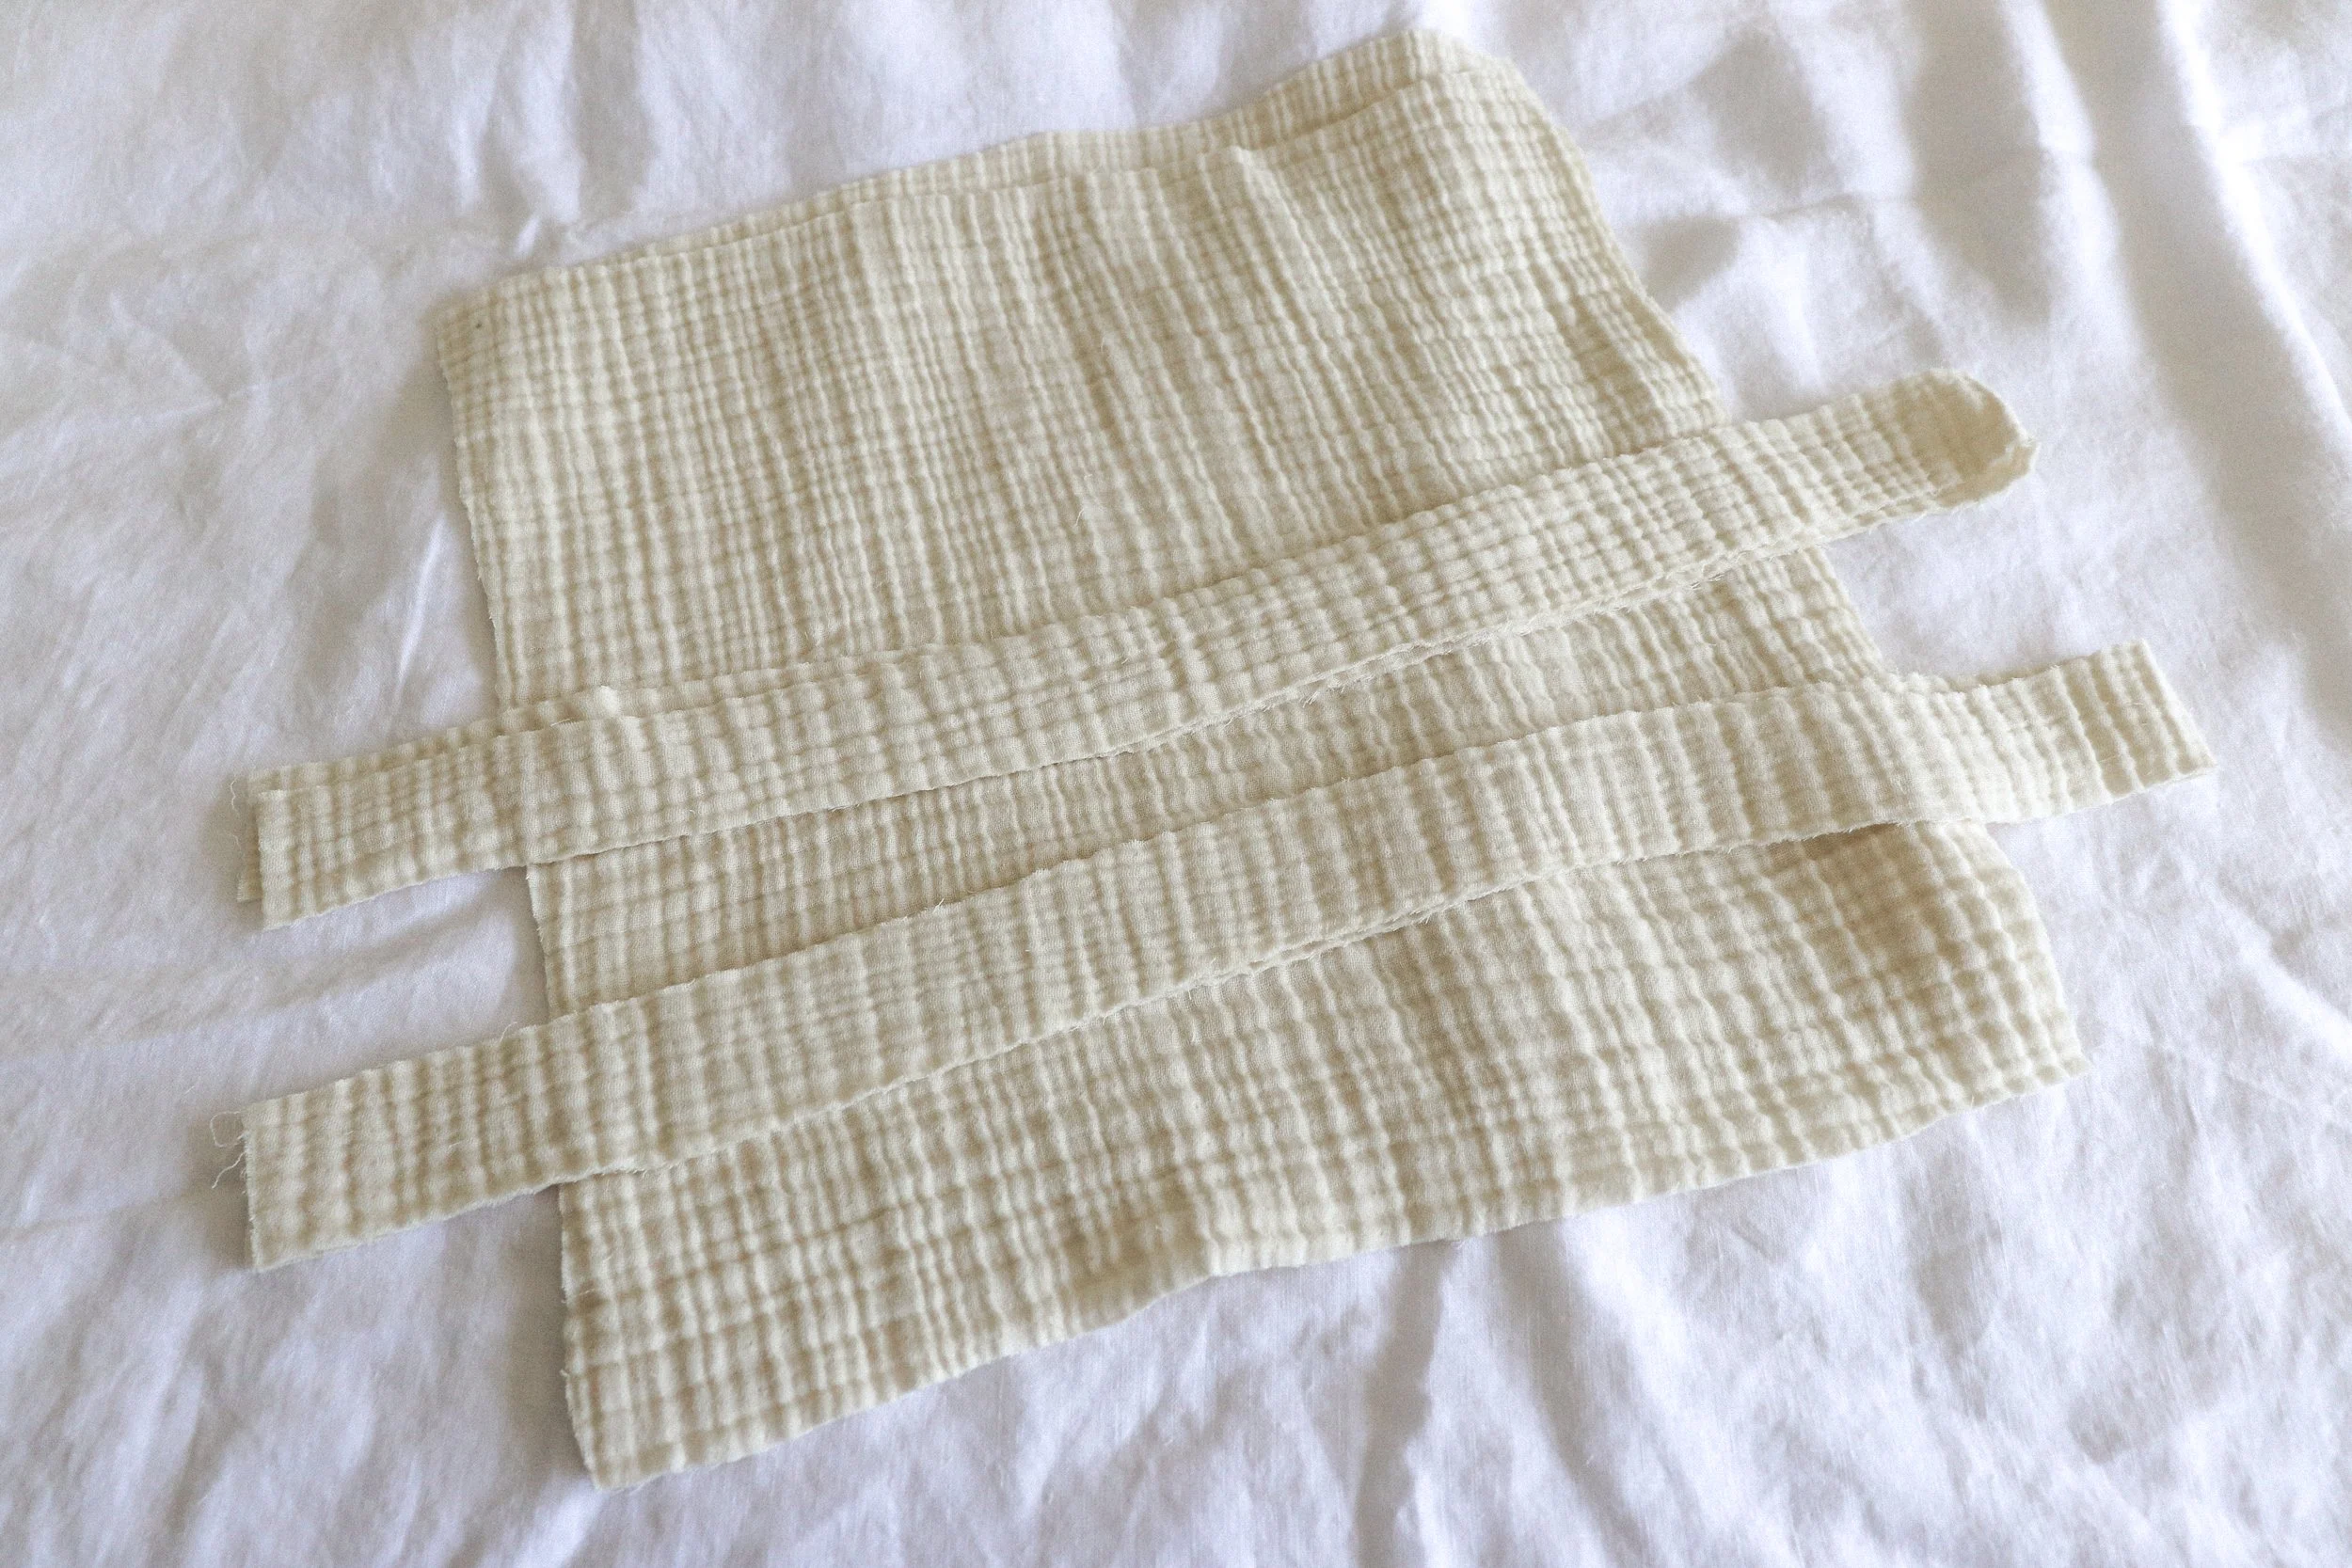
I cut two 38×38 cm squares for the bag body and two 4×86 cm rectangles for the ties.
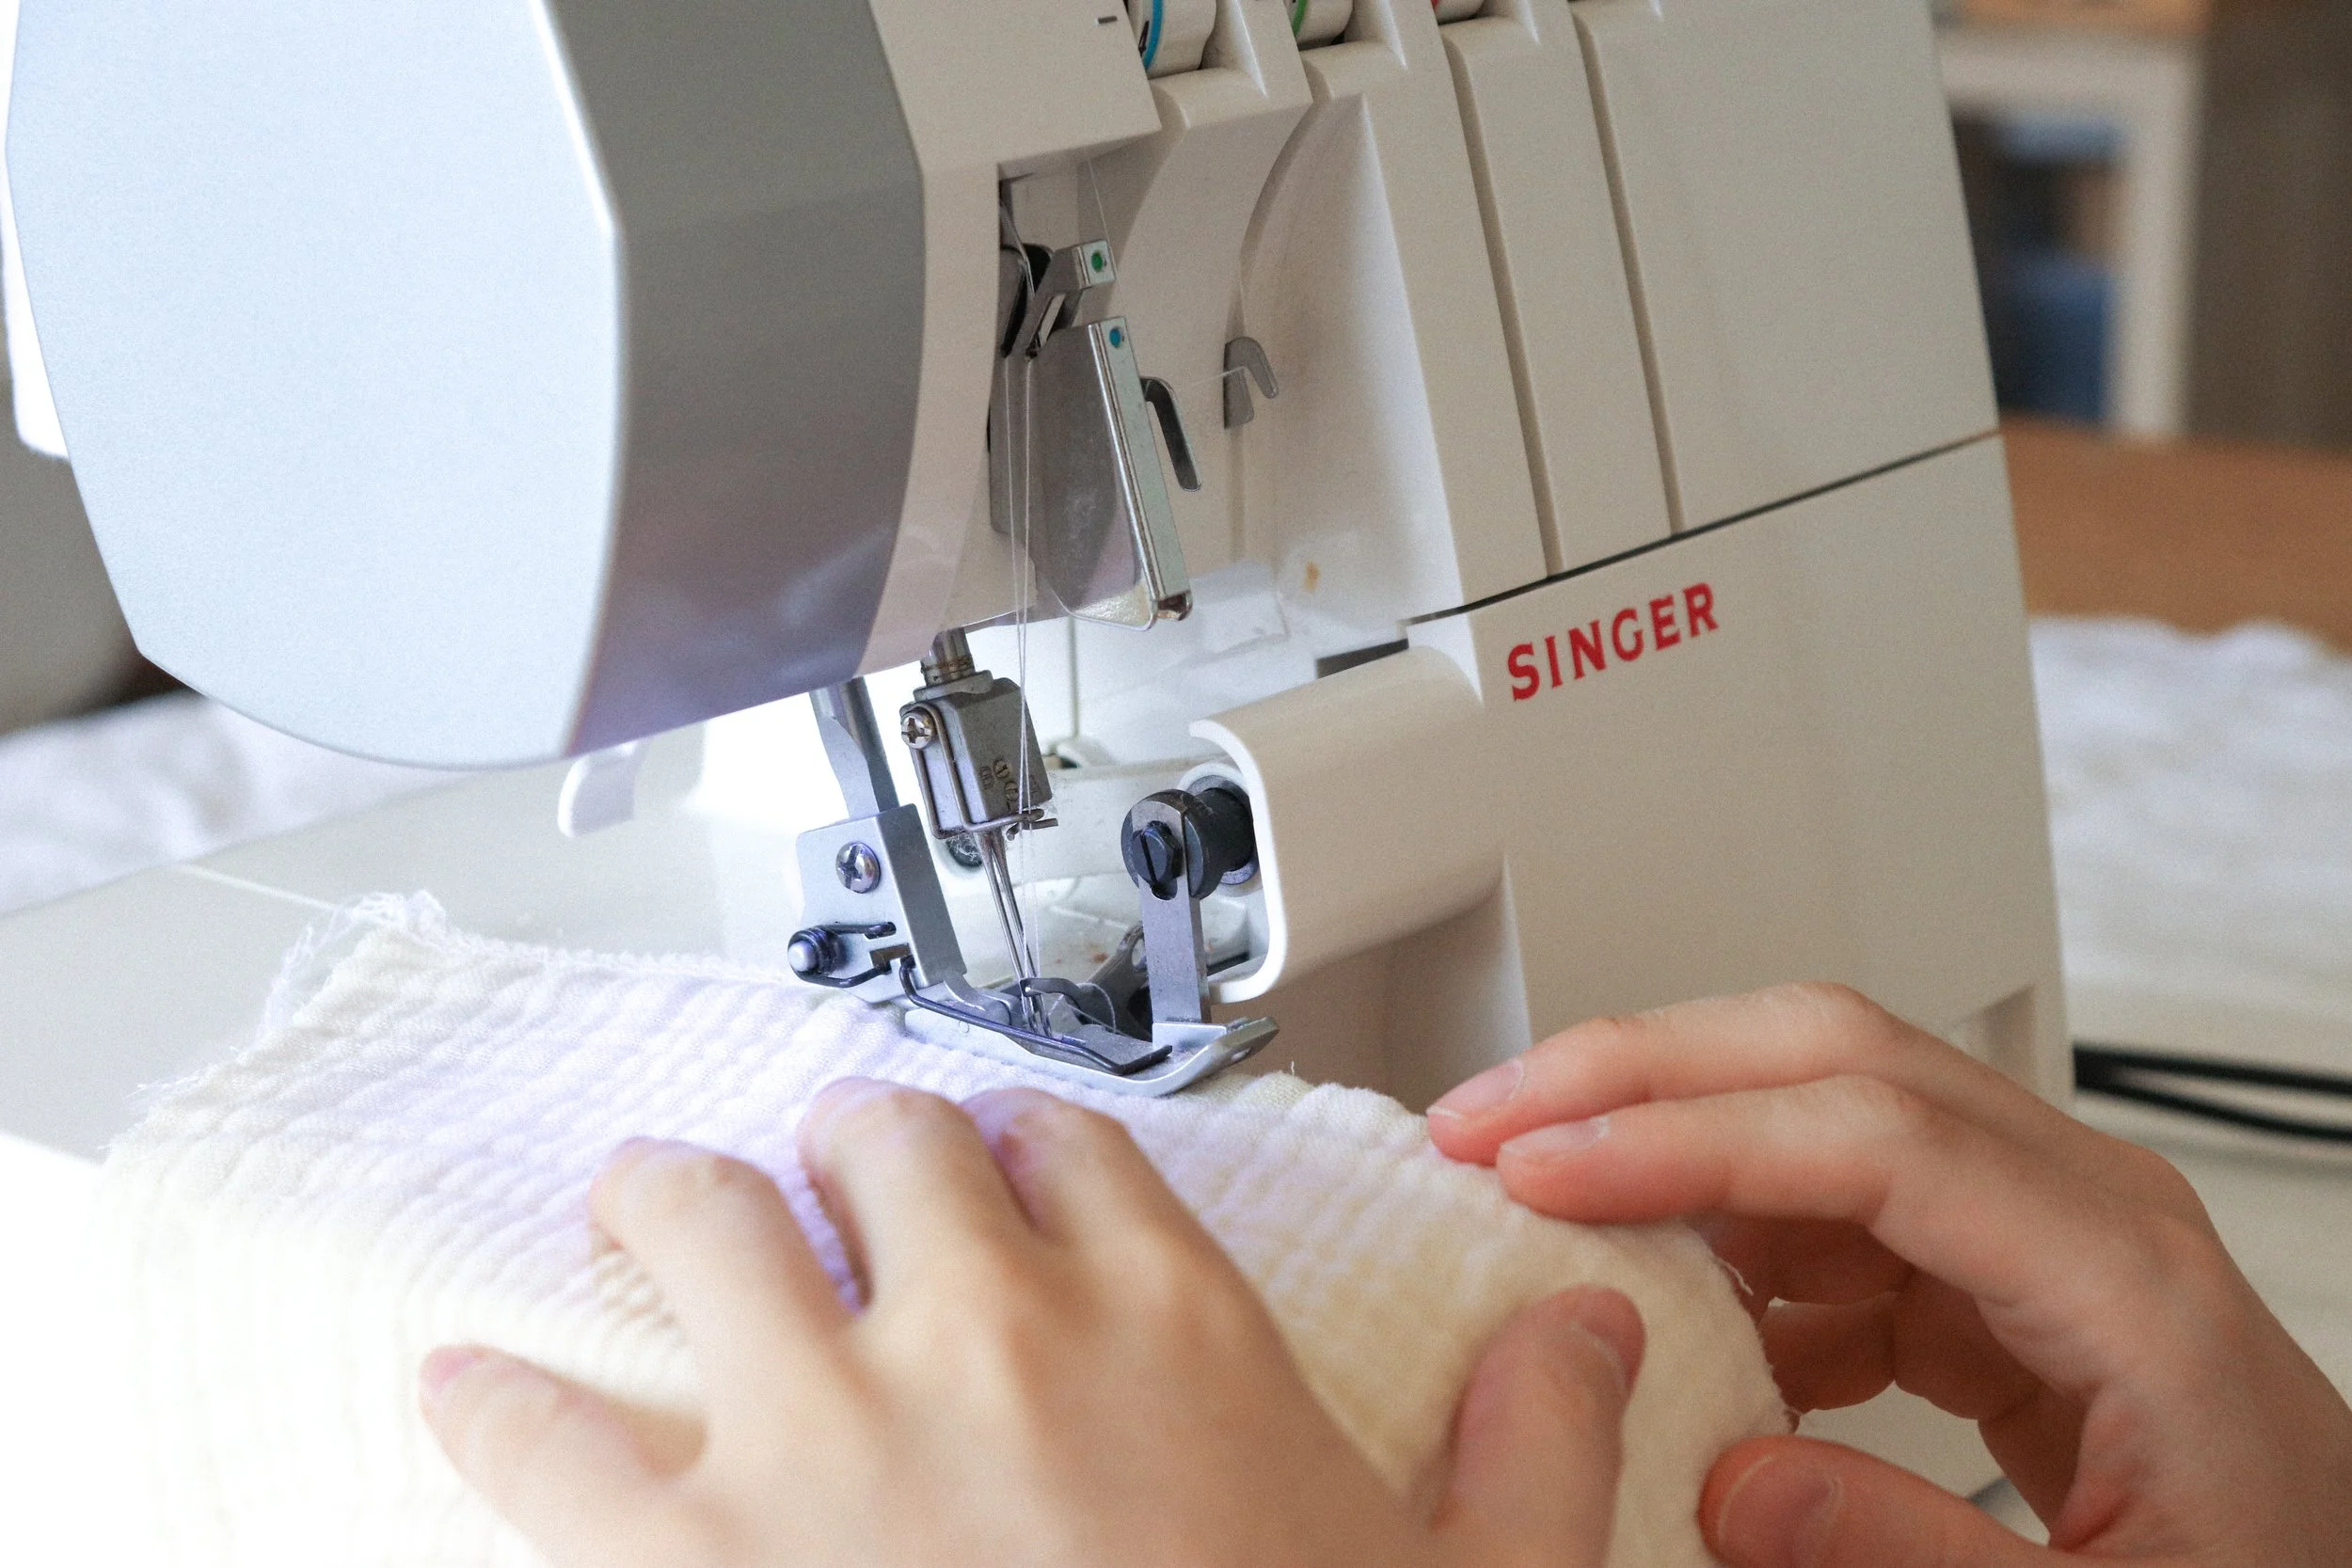
Next, I finished the edges of the squares using my serger to prevent fraying.
If you don’t have a serger, a zigzag stitch works just as well.
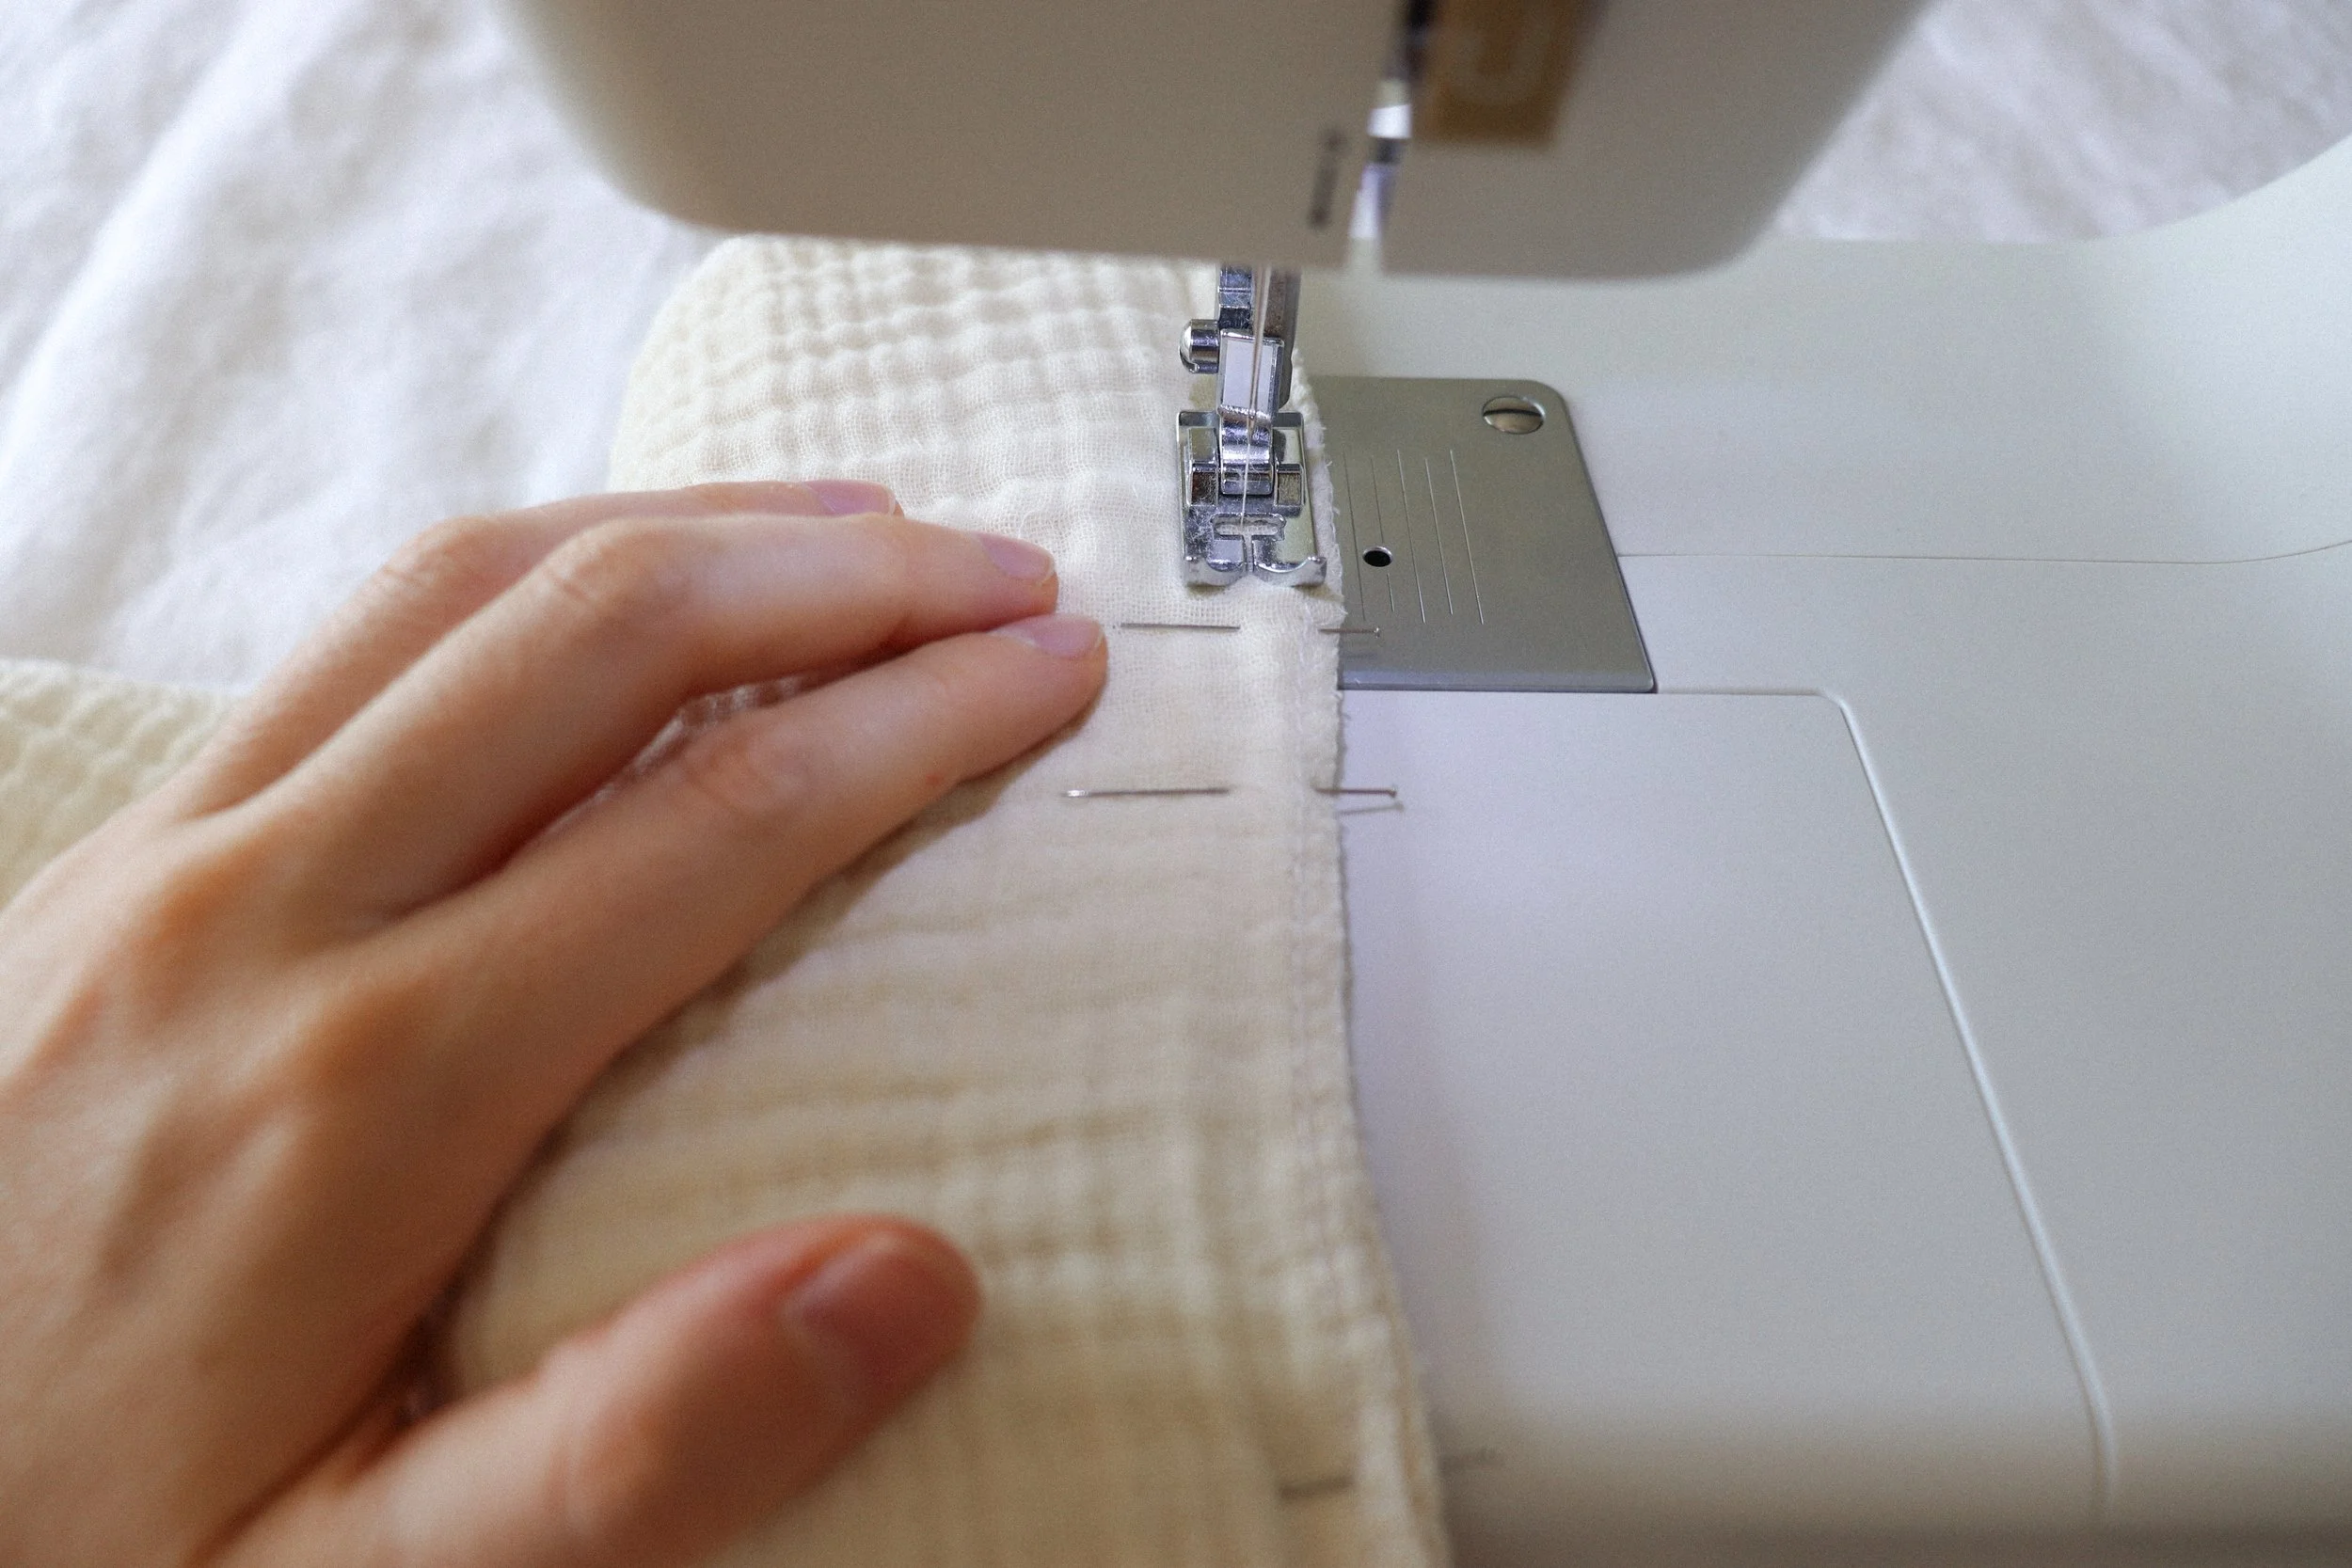
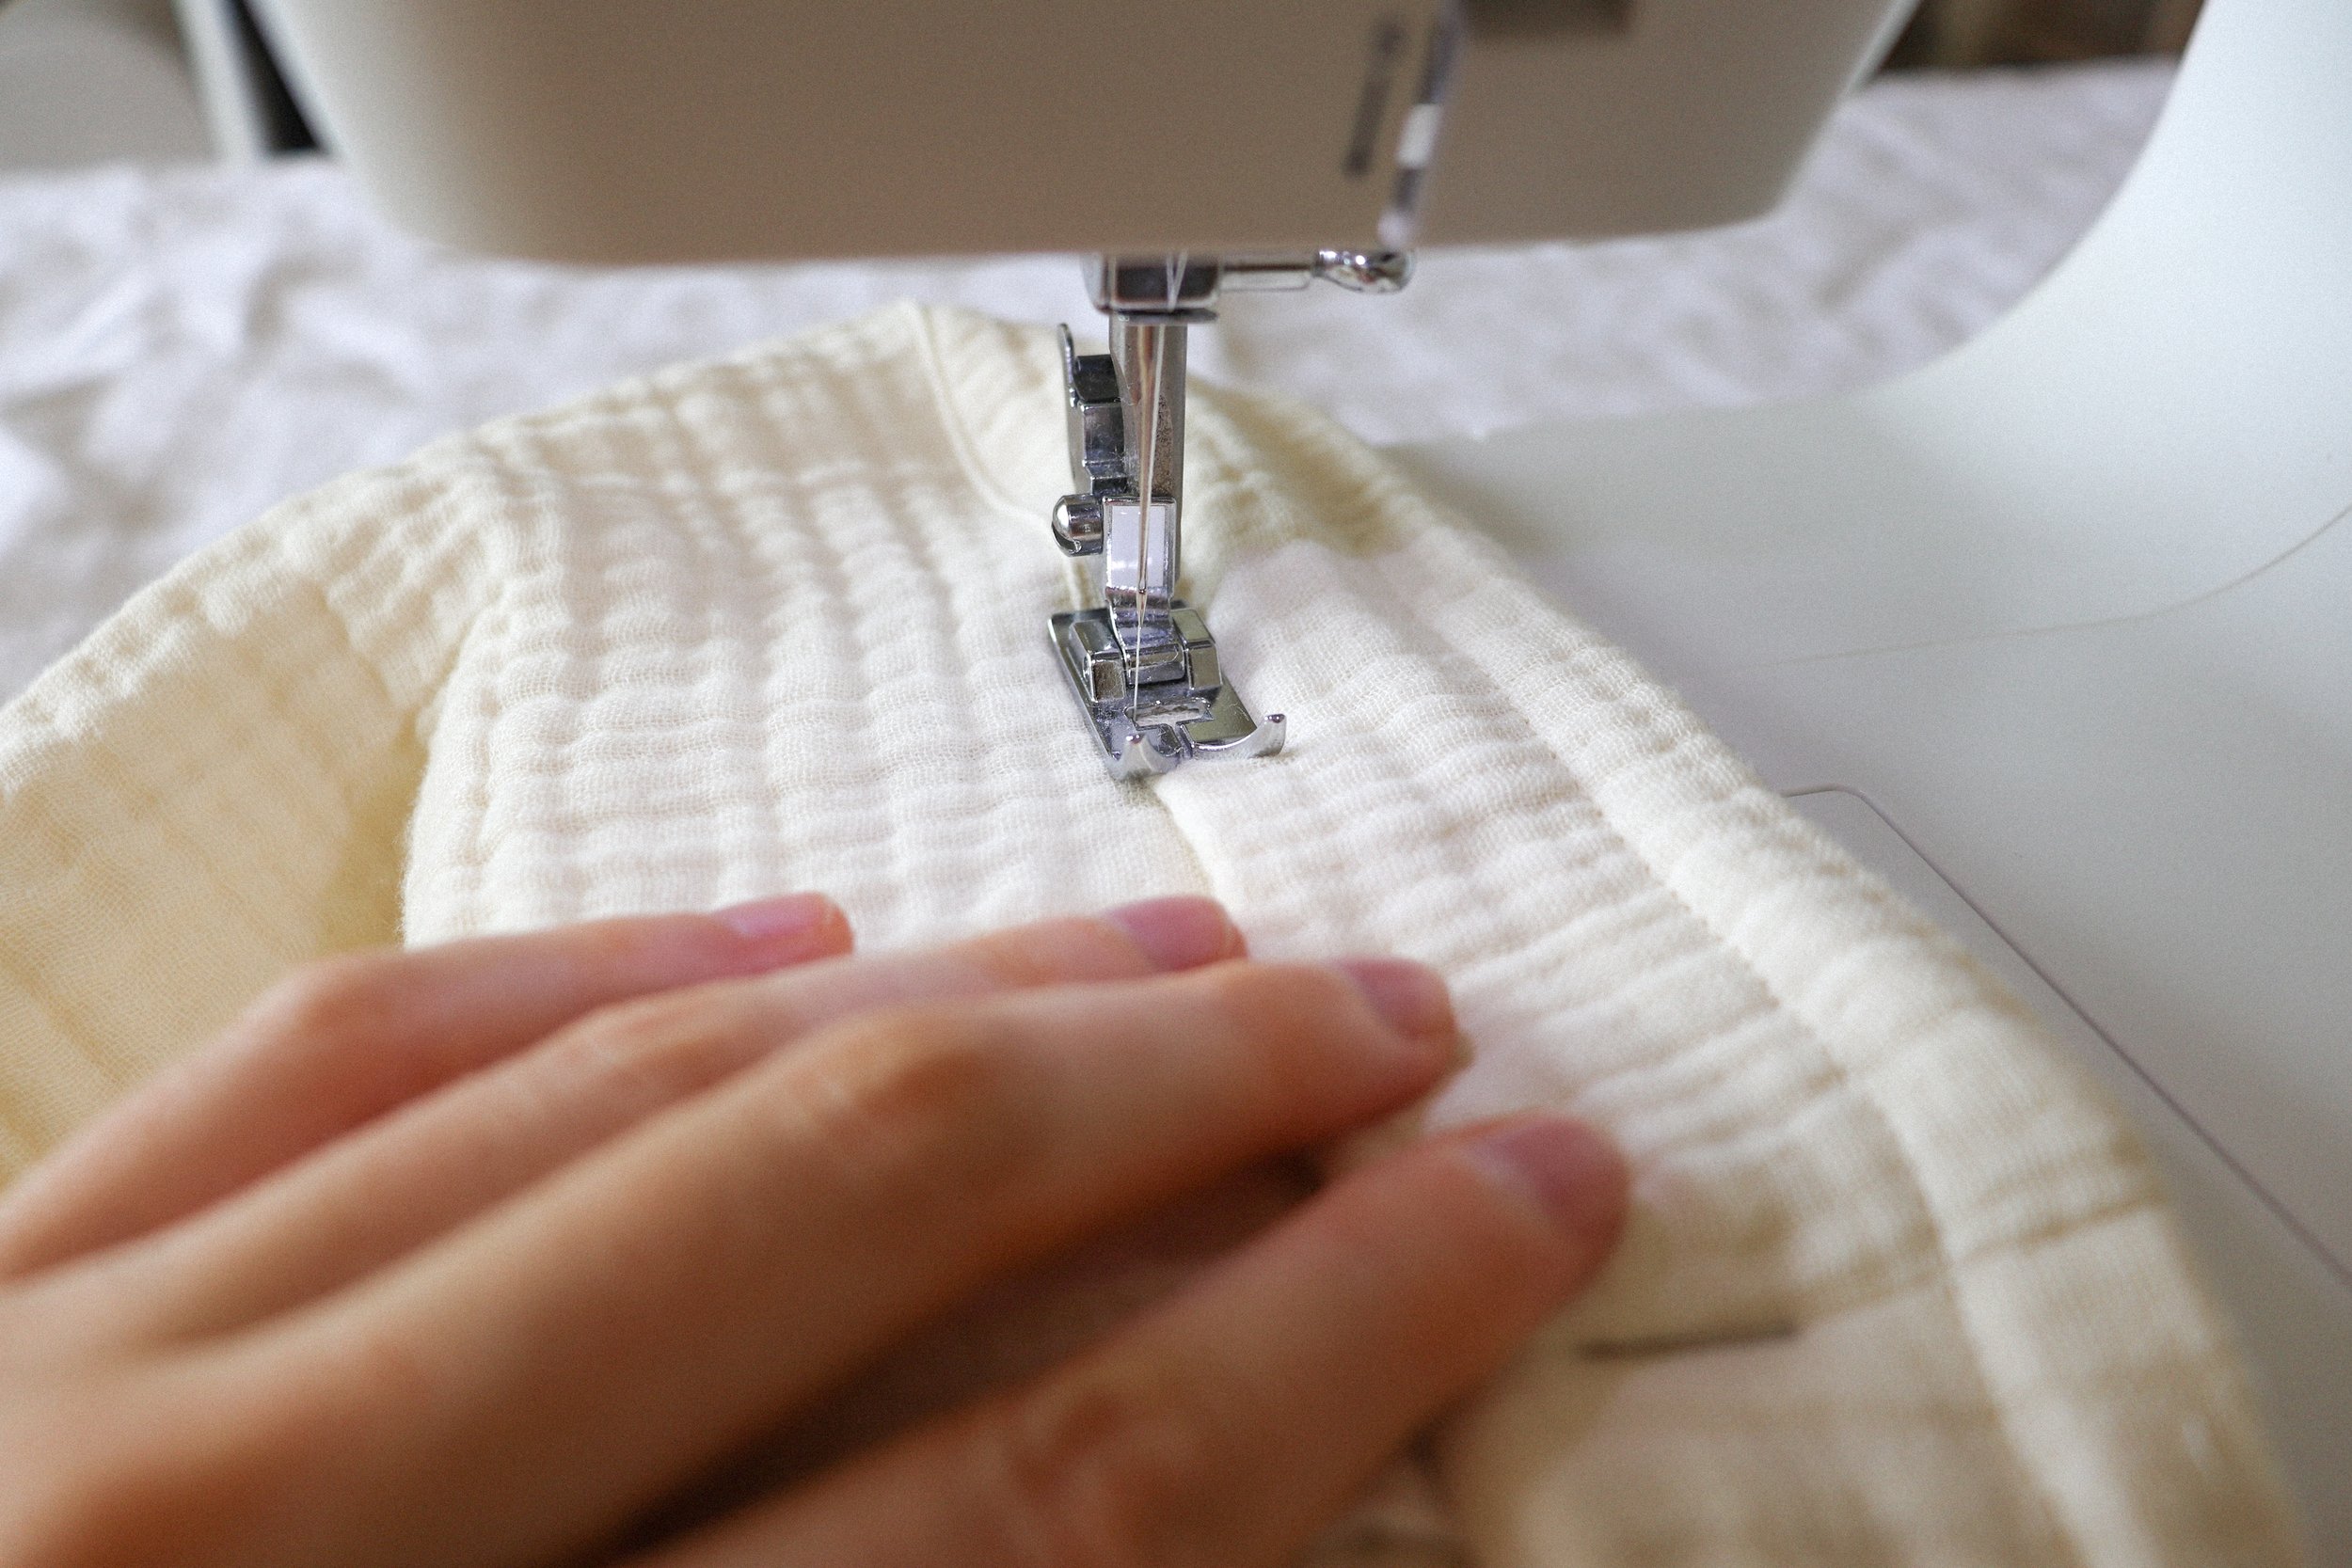
With the squares right sides together, I sewed along the sides and bottom.
I made sure to leave a 2 cm gap between 9 and 11 cm from the sides for the drawstring.
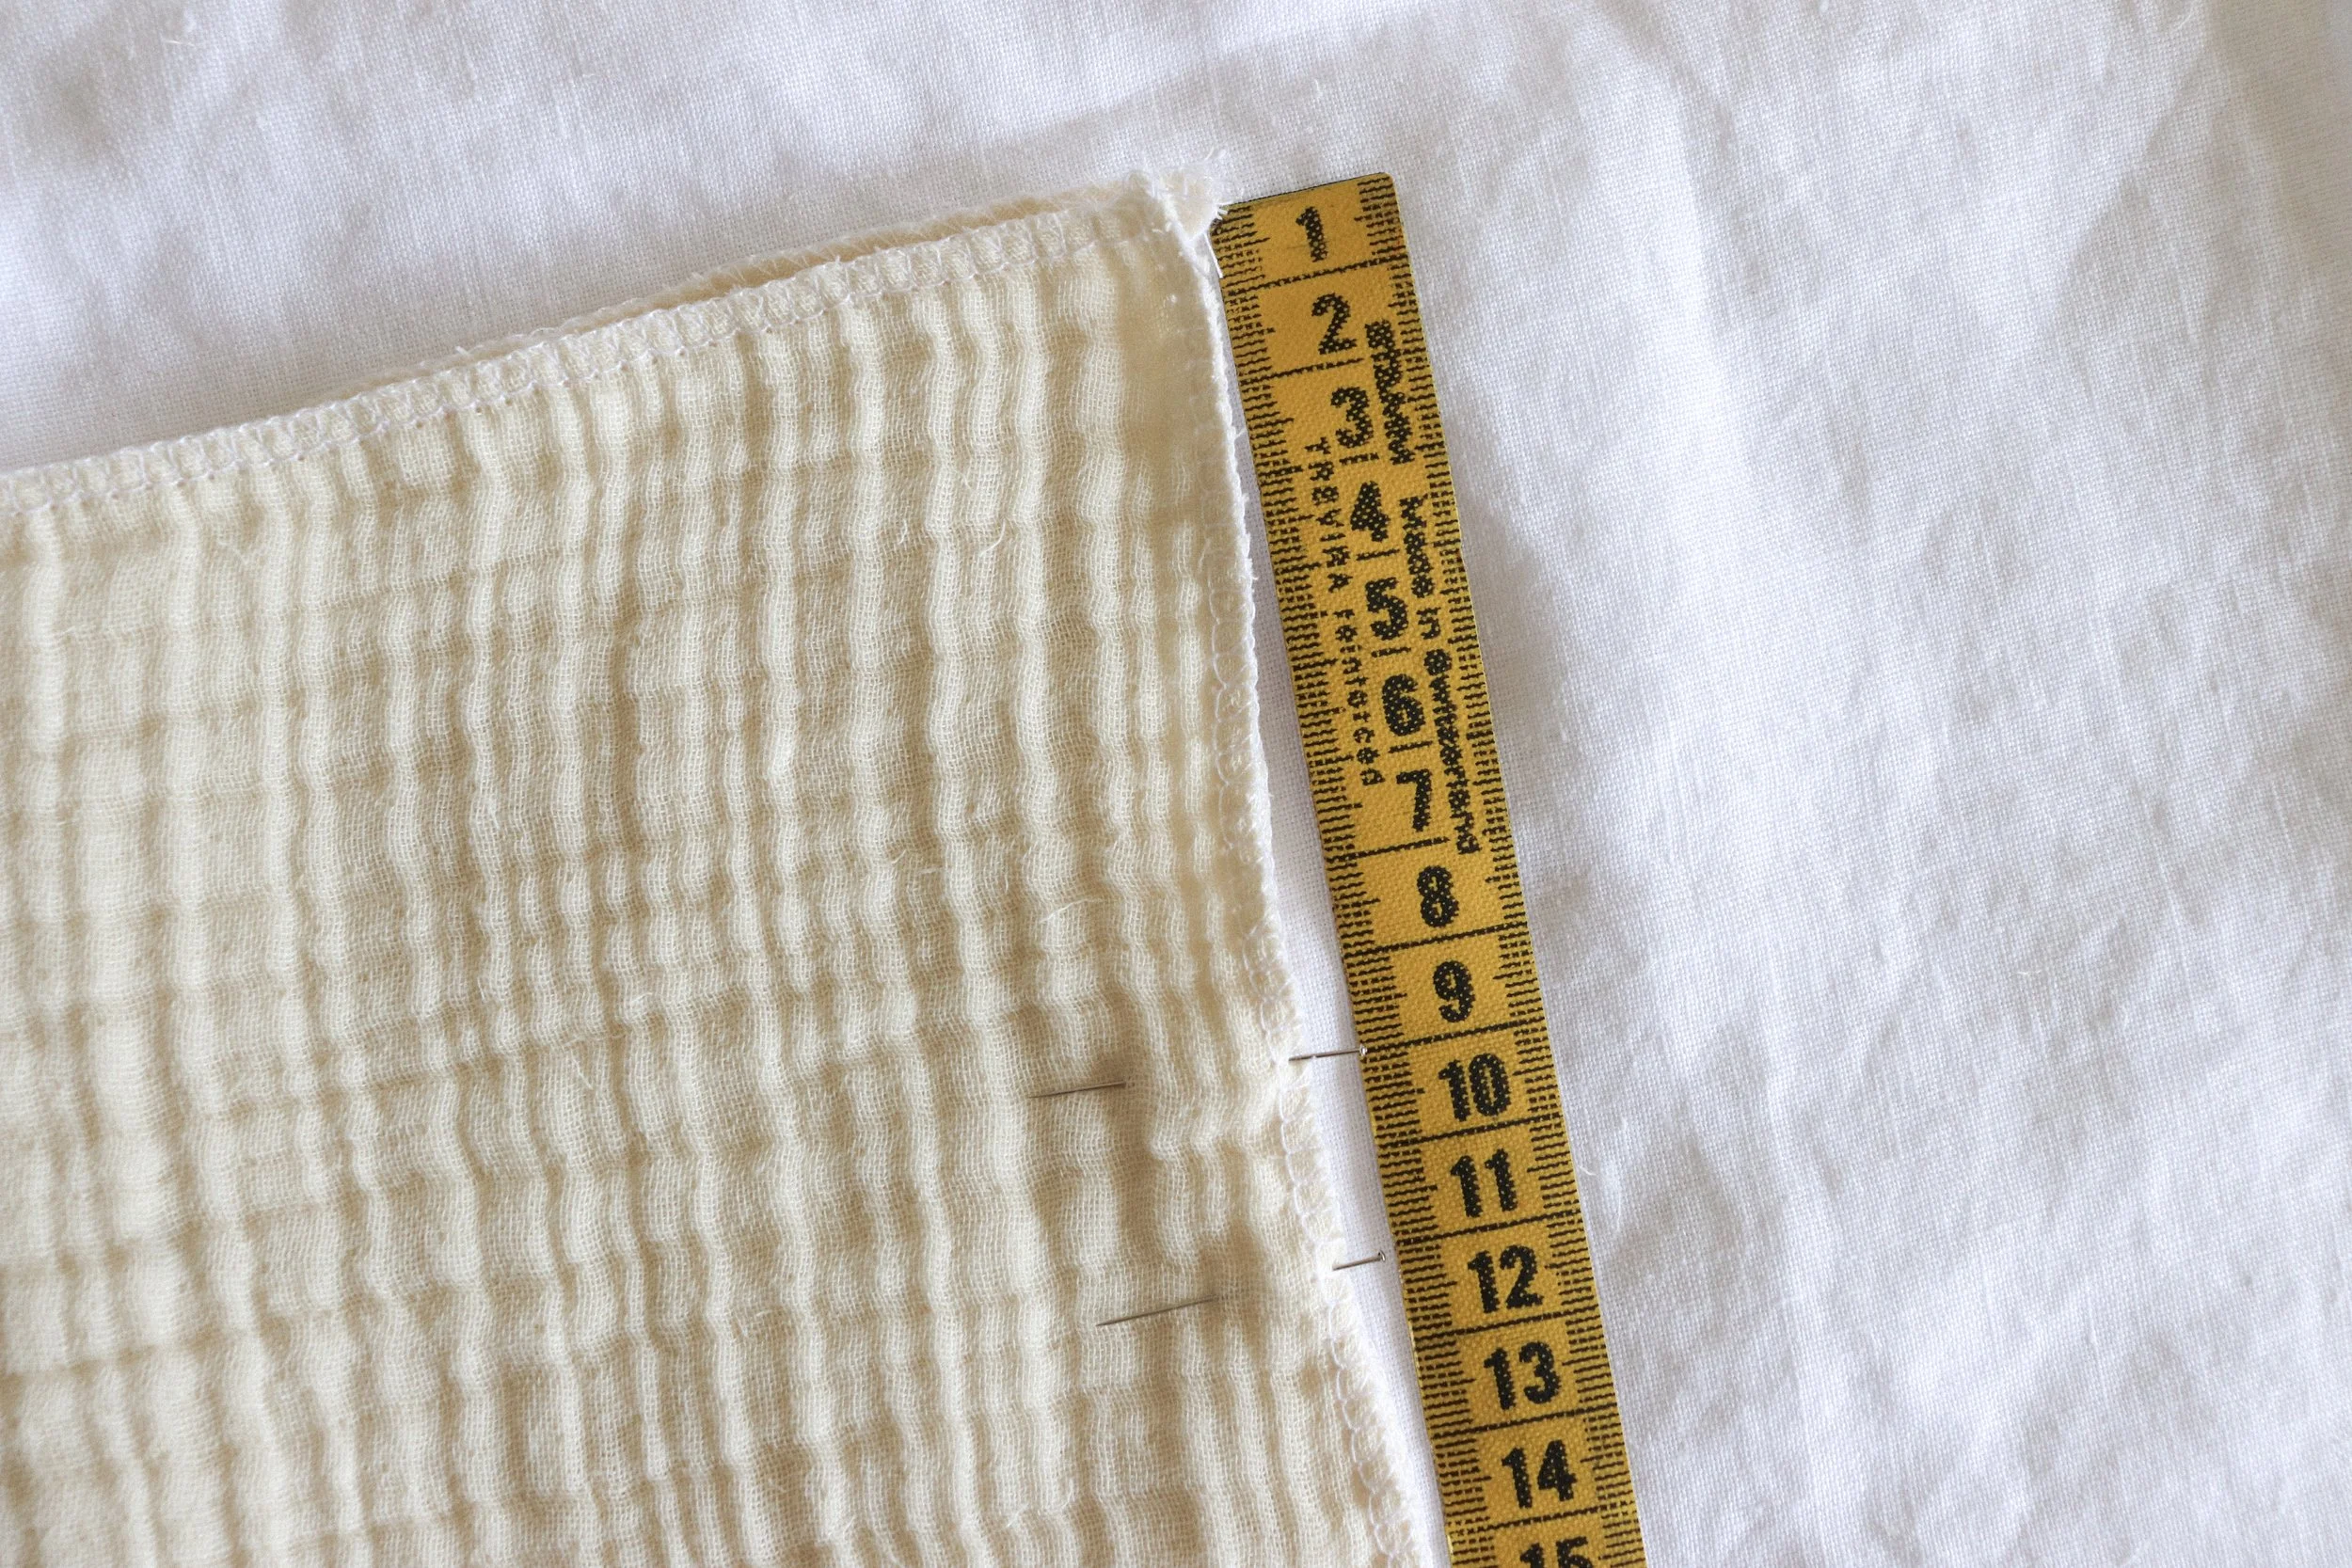
Here’s what it looks like after sewing the sides of the bag.
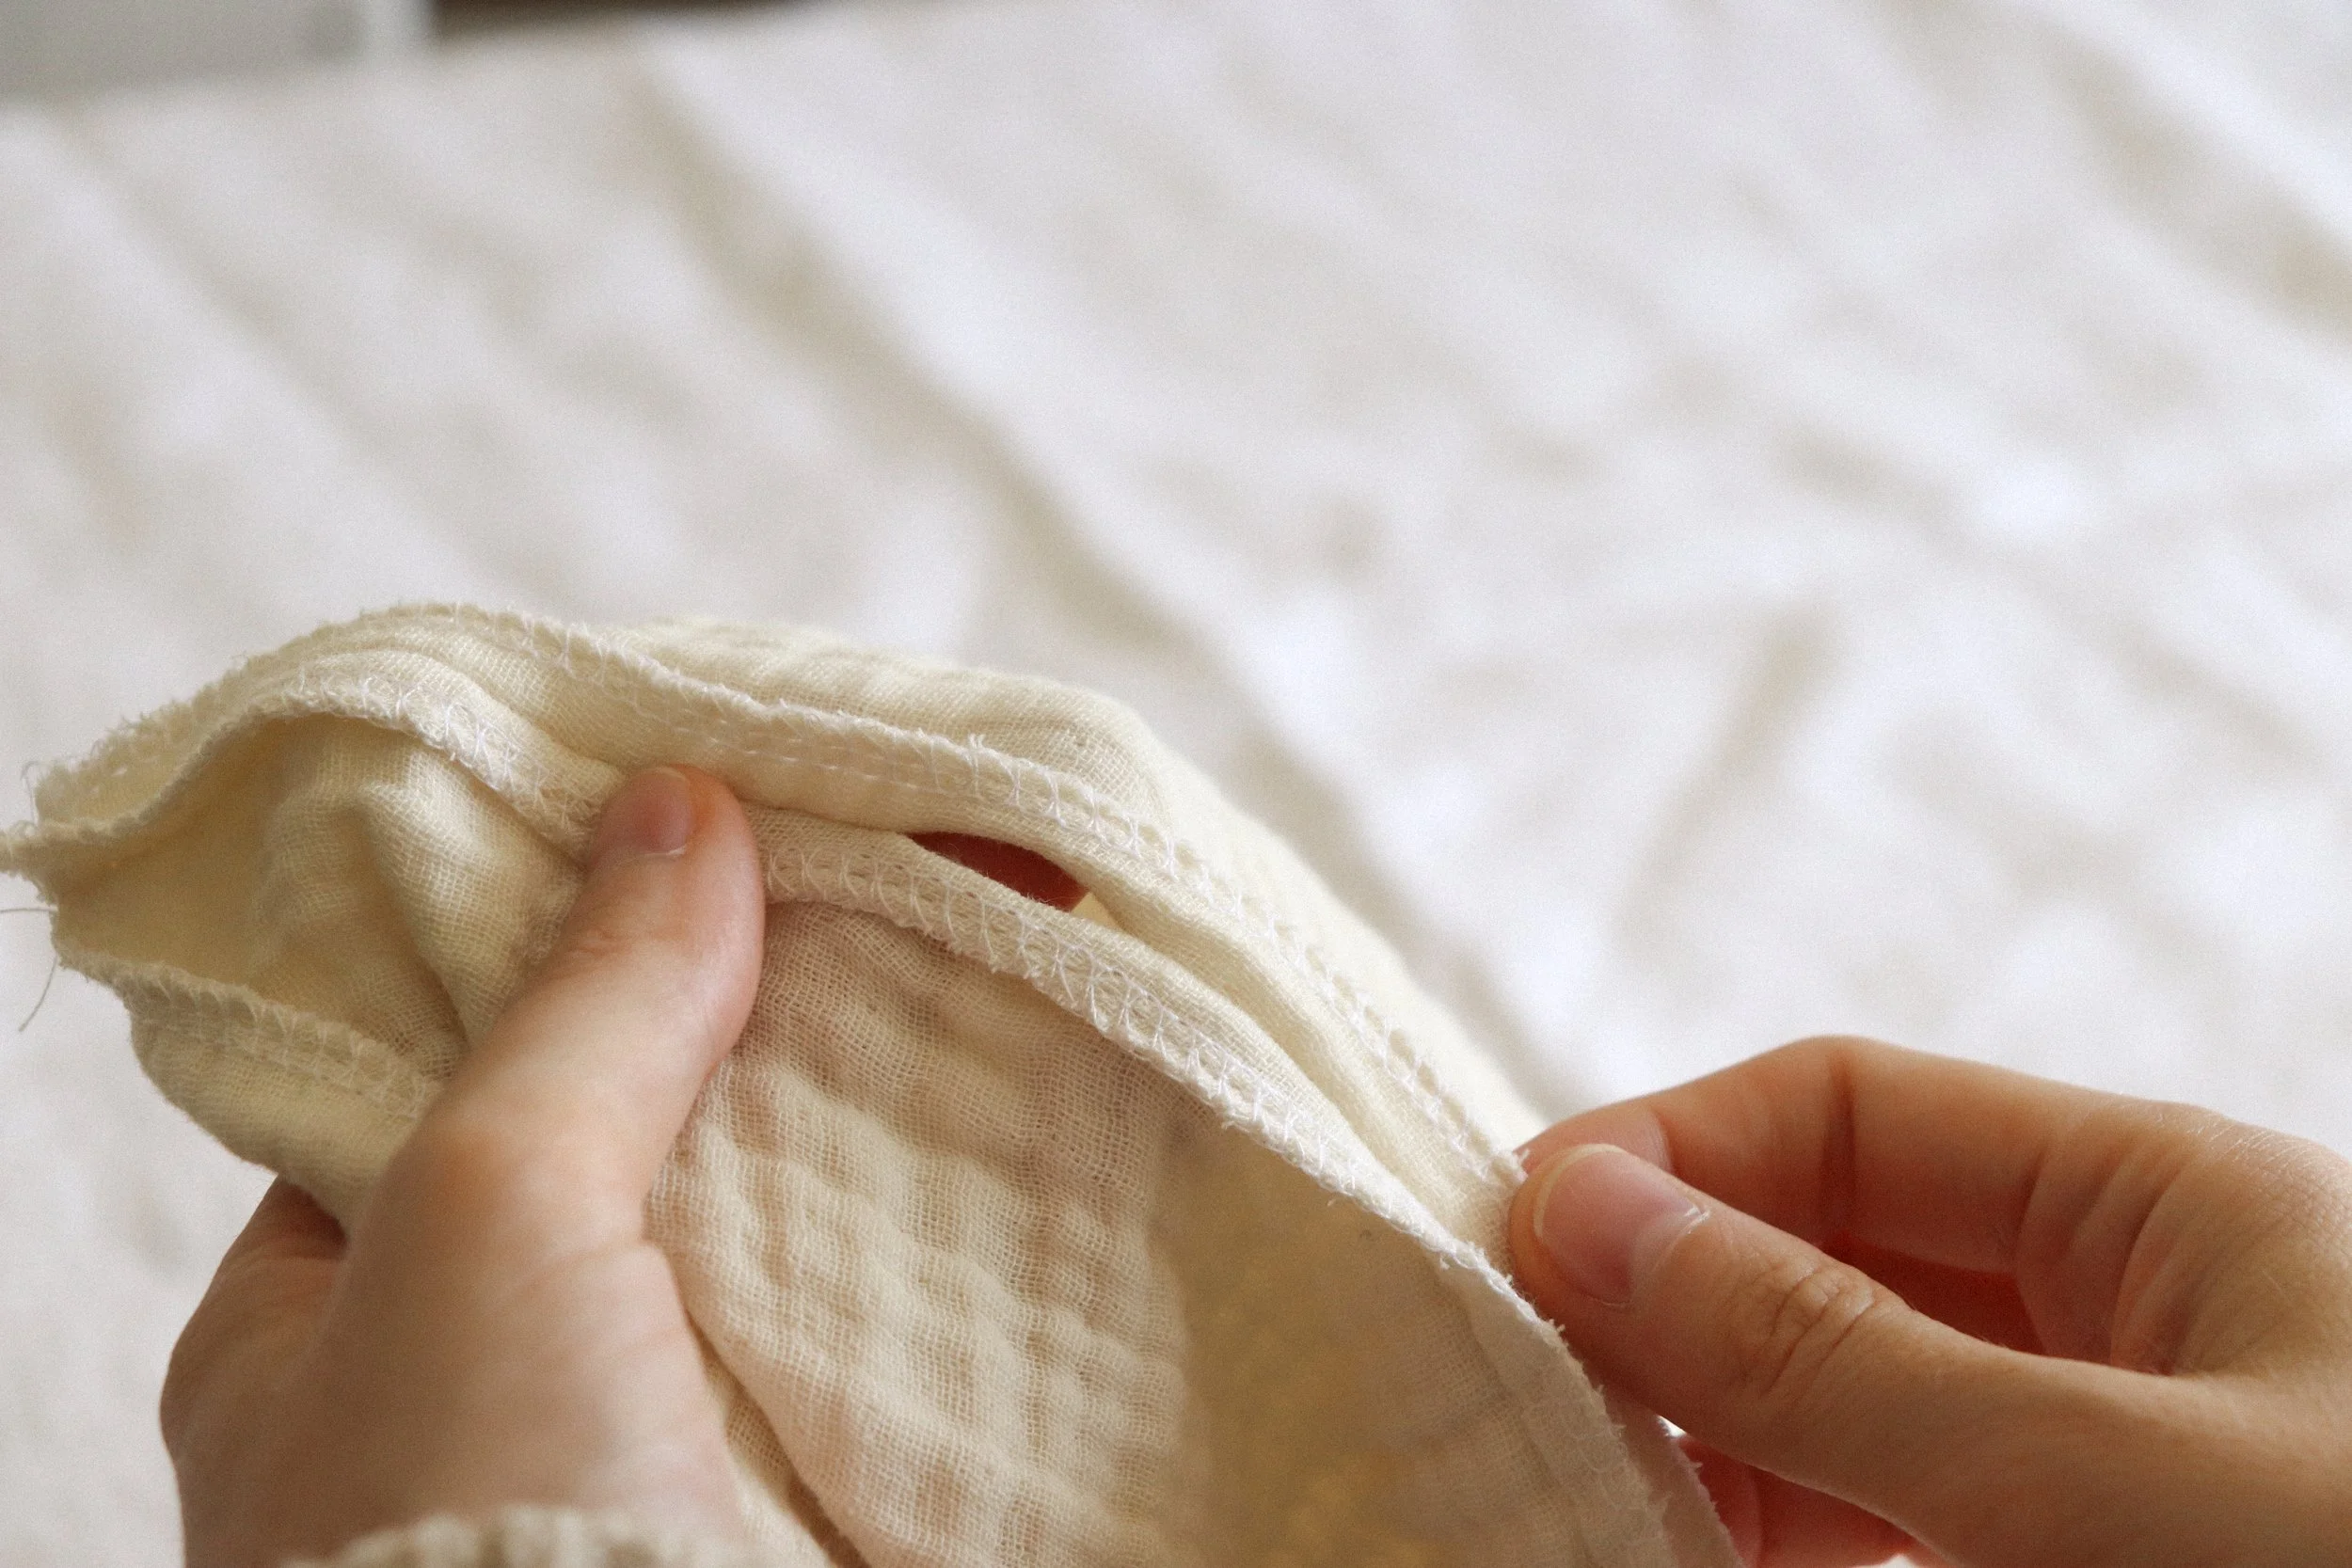
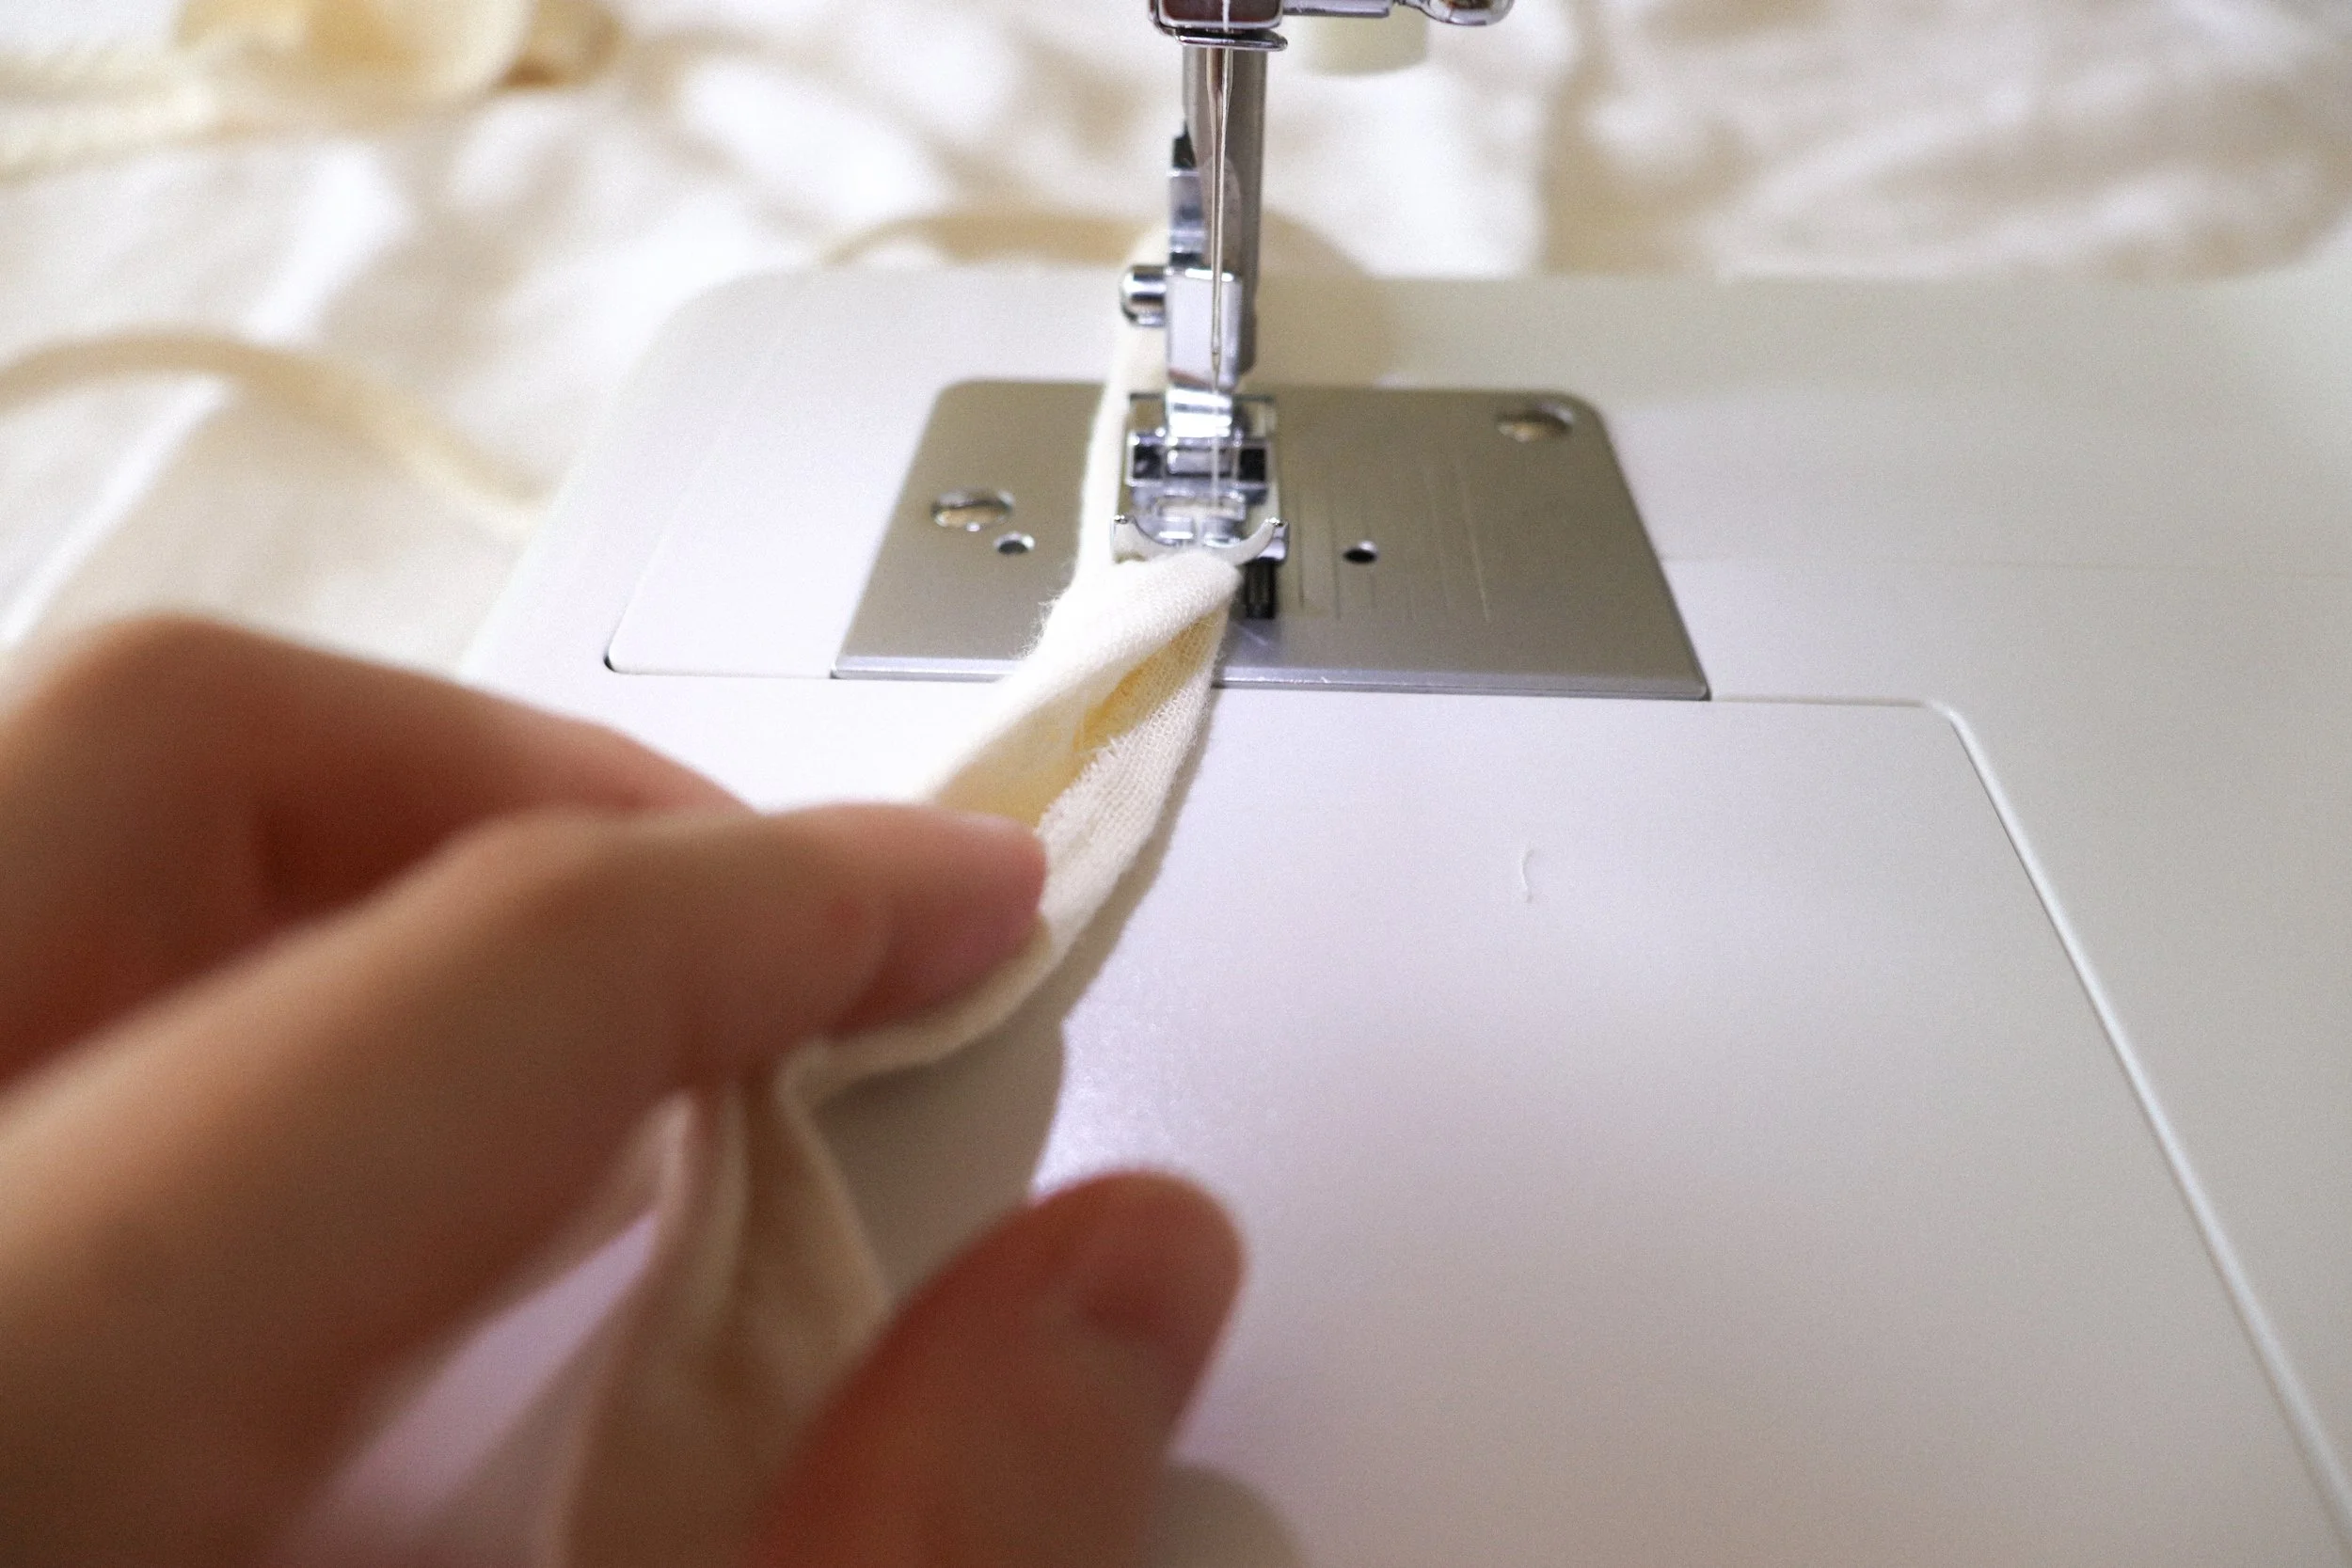
For the casing, I folded the top edge down 6 cm toward the wrong side and stitched it in place about 2 cm from the top.
Then I added a second stitch about 3cm below the first, creating a neat little tunnel for the drawstring.
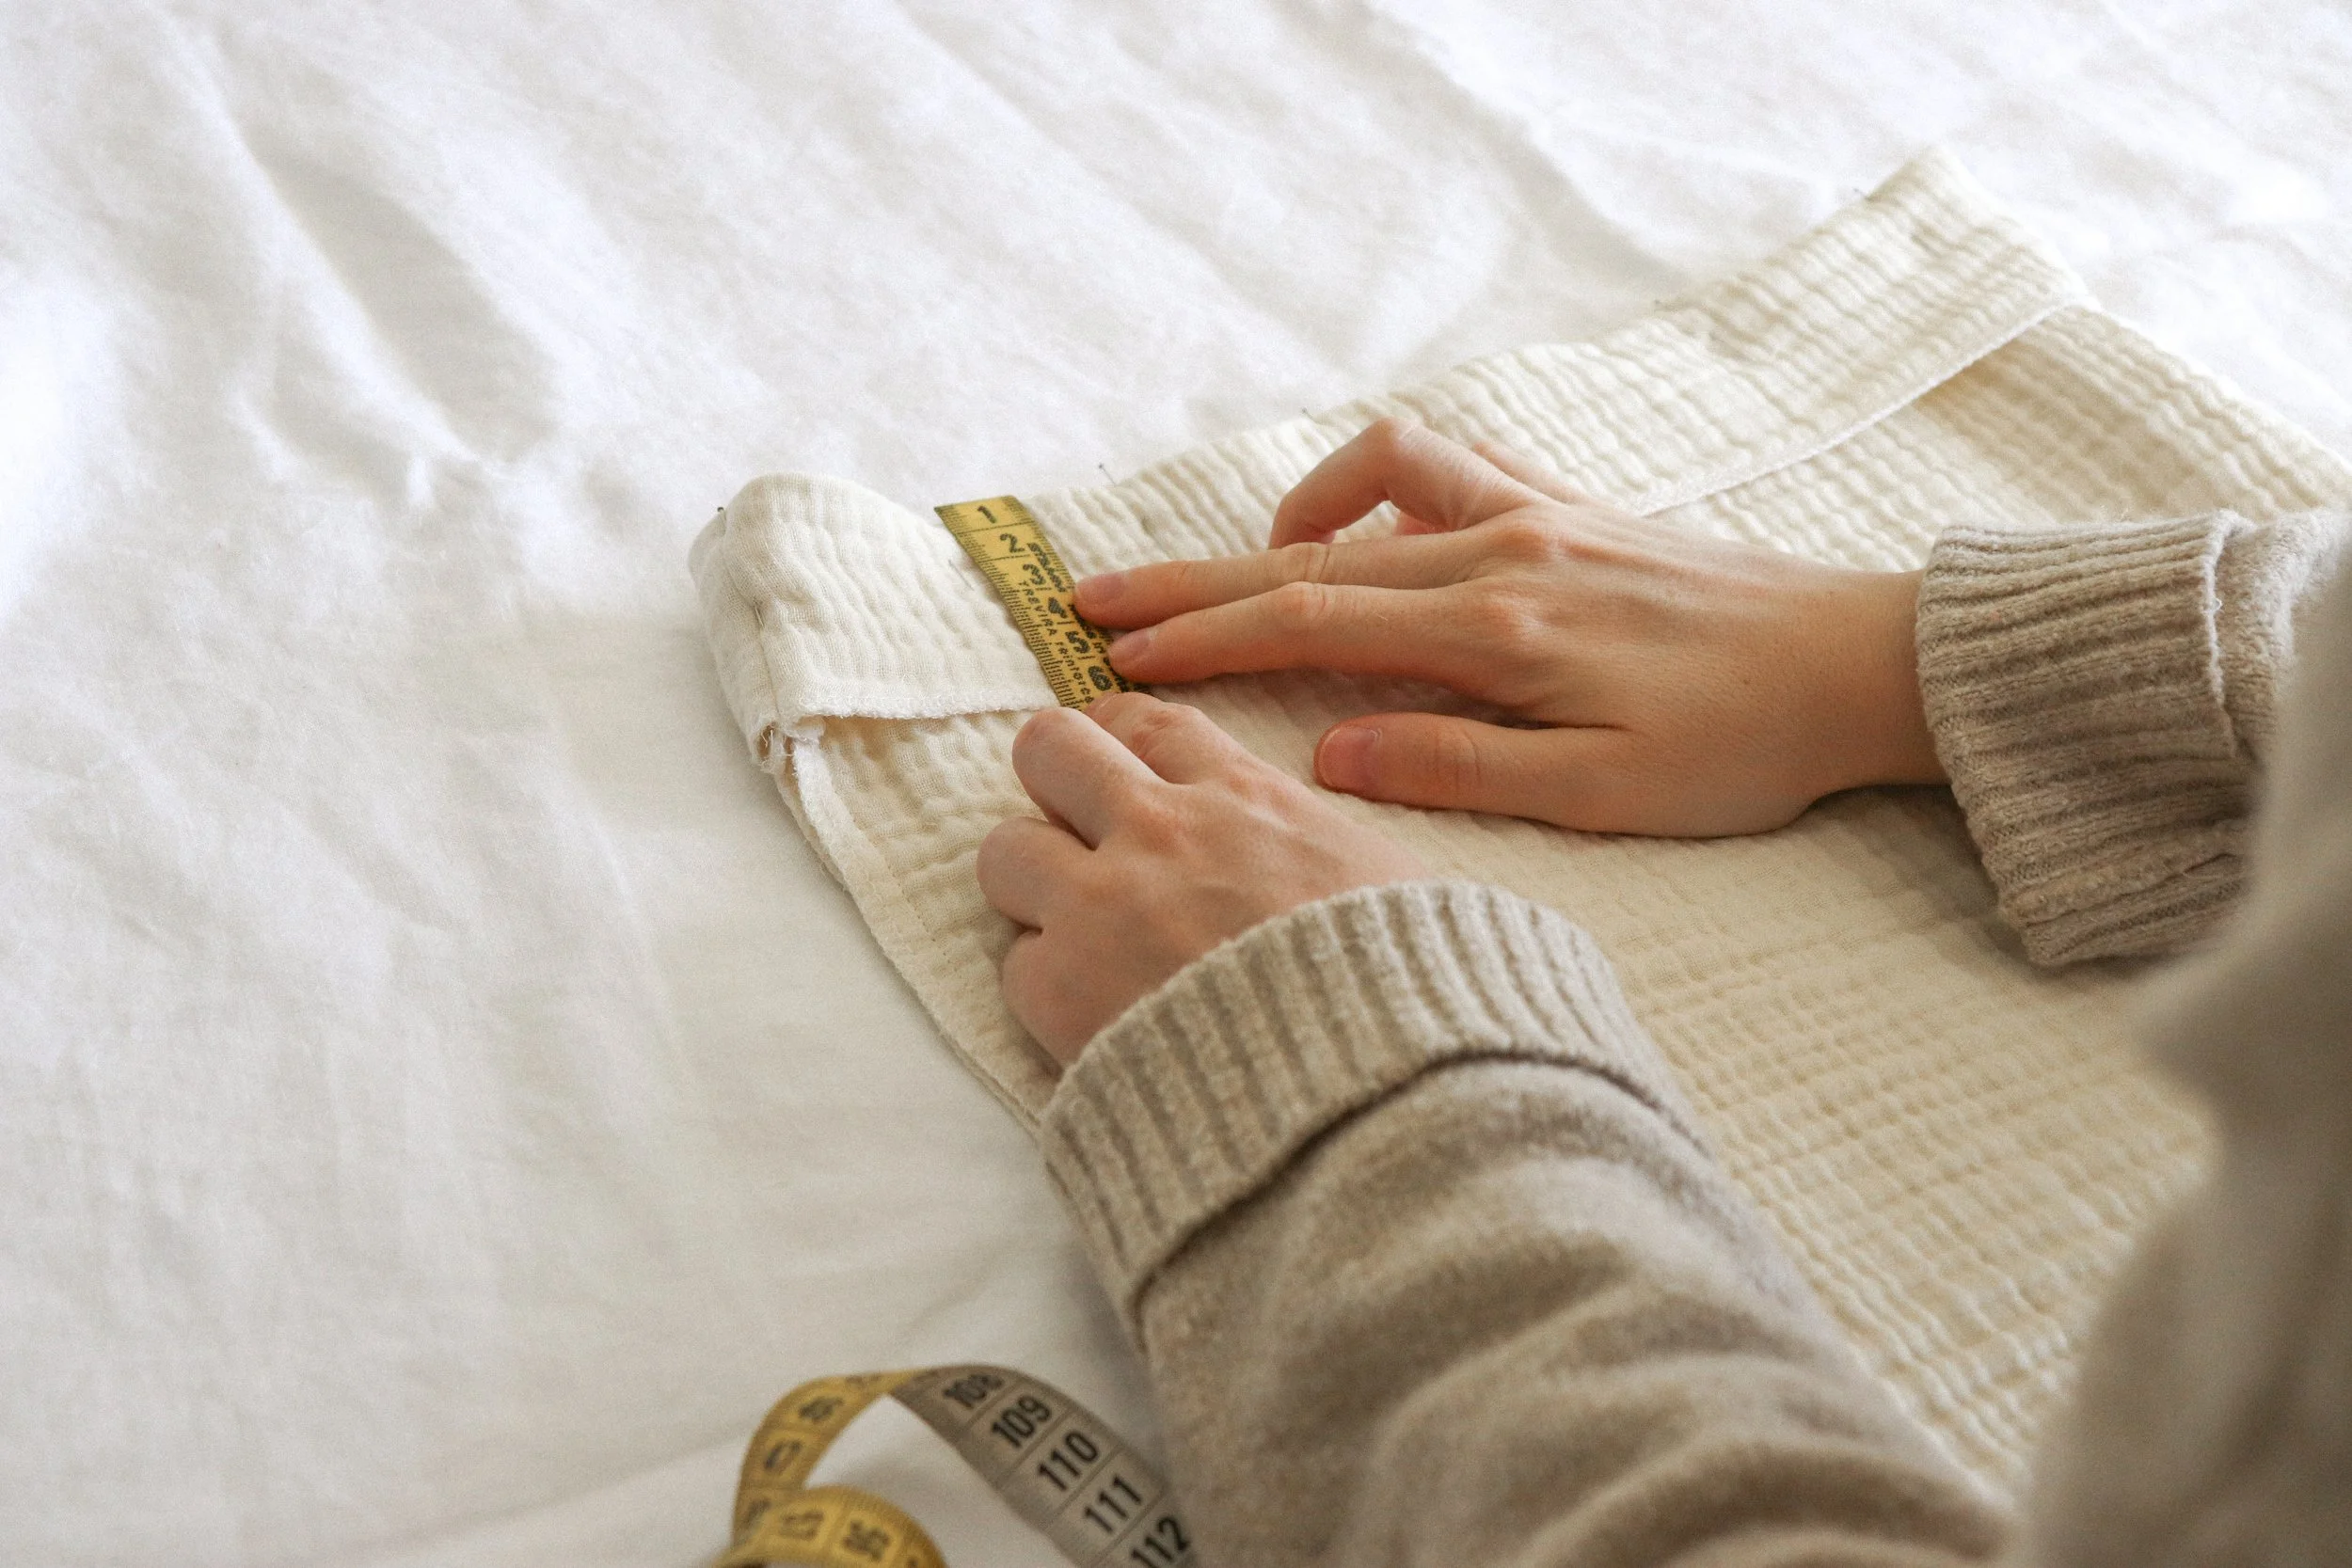
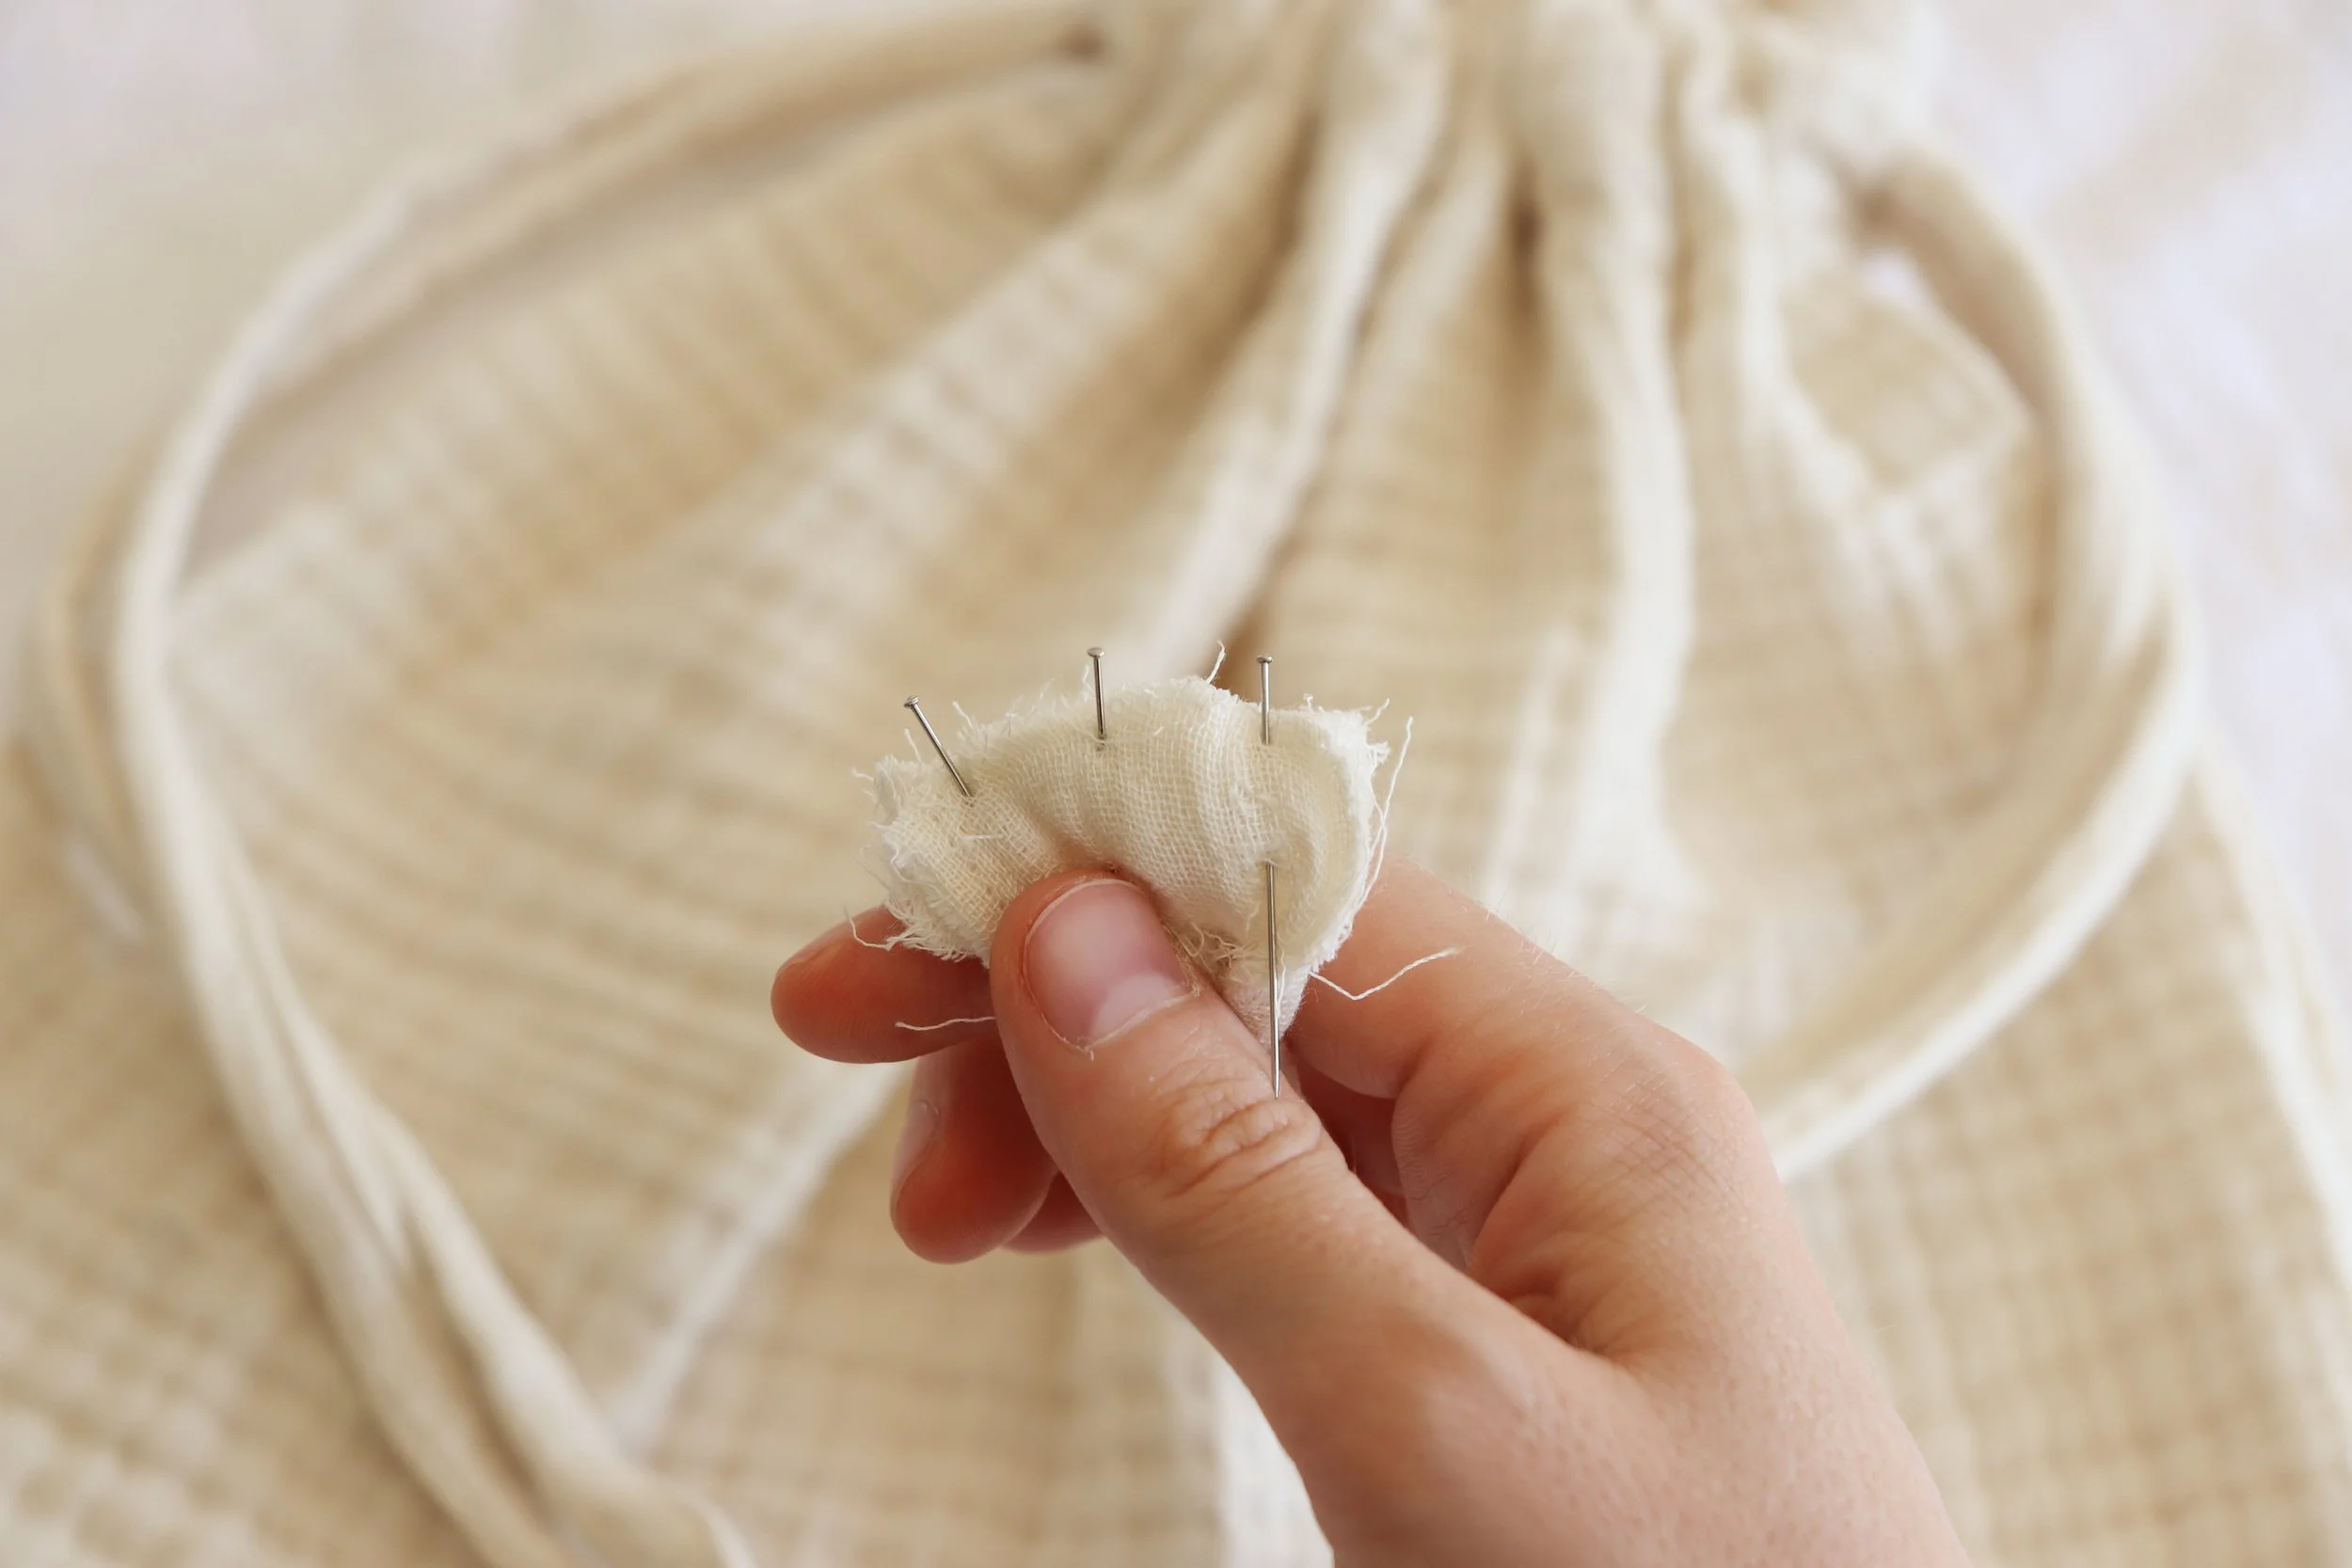
Next, I folded the edges of the rectangles inward and topstitched them to make the ties, leaving the ends unfinished.
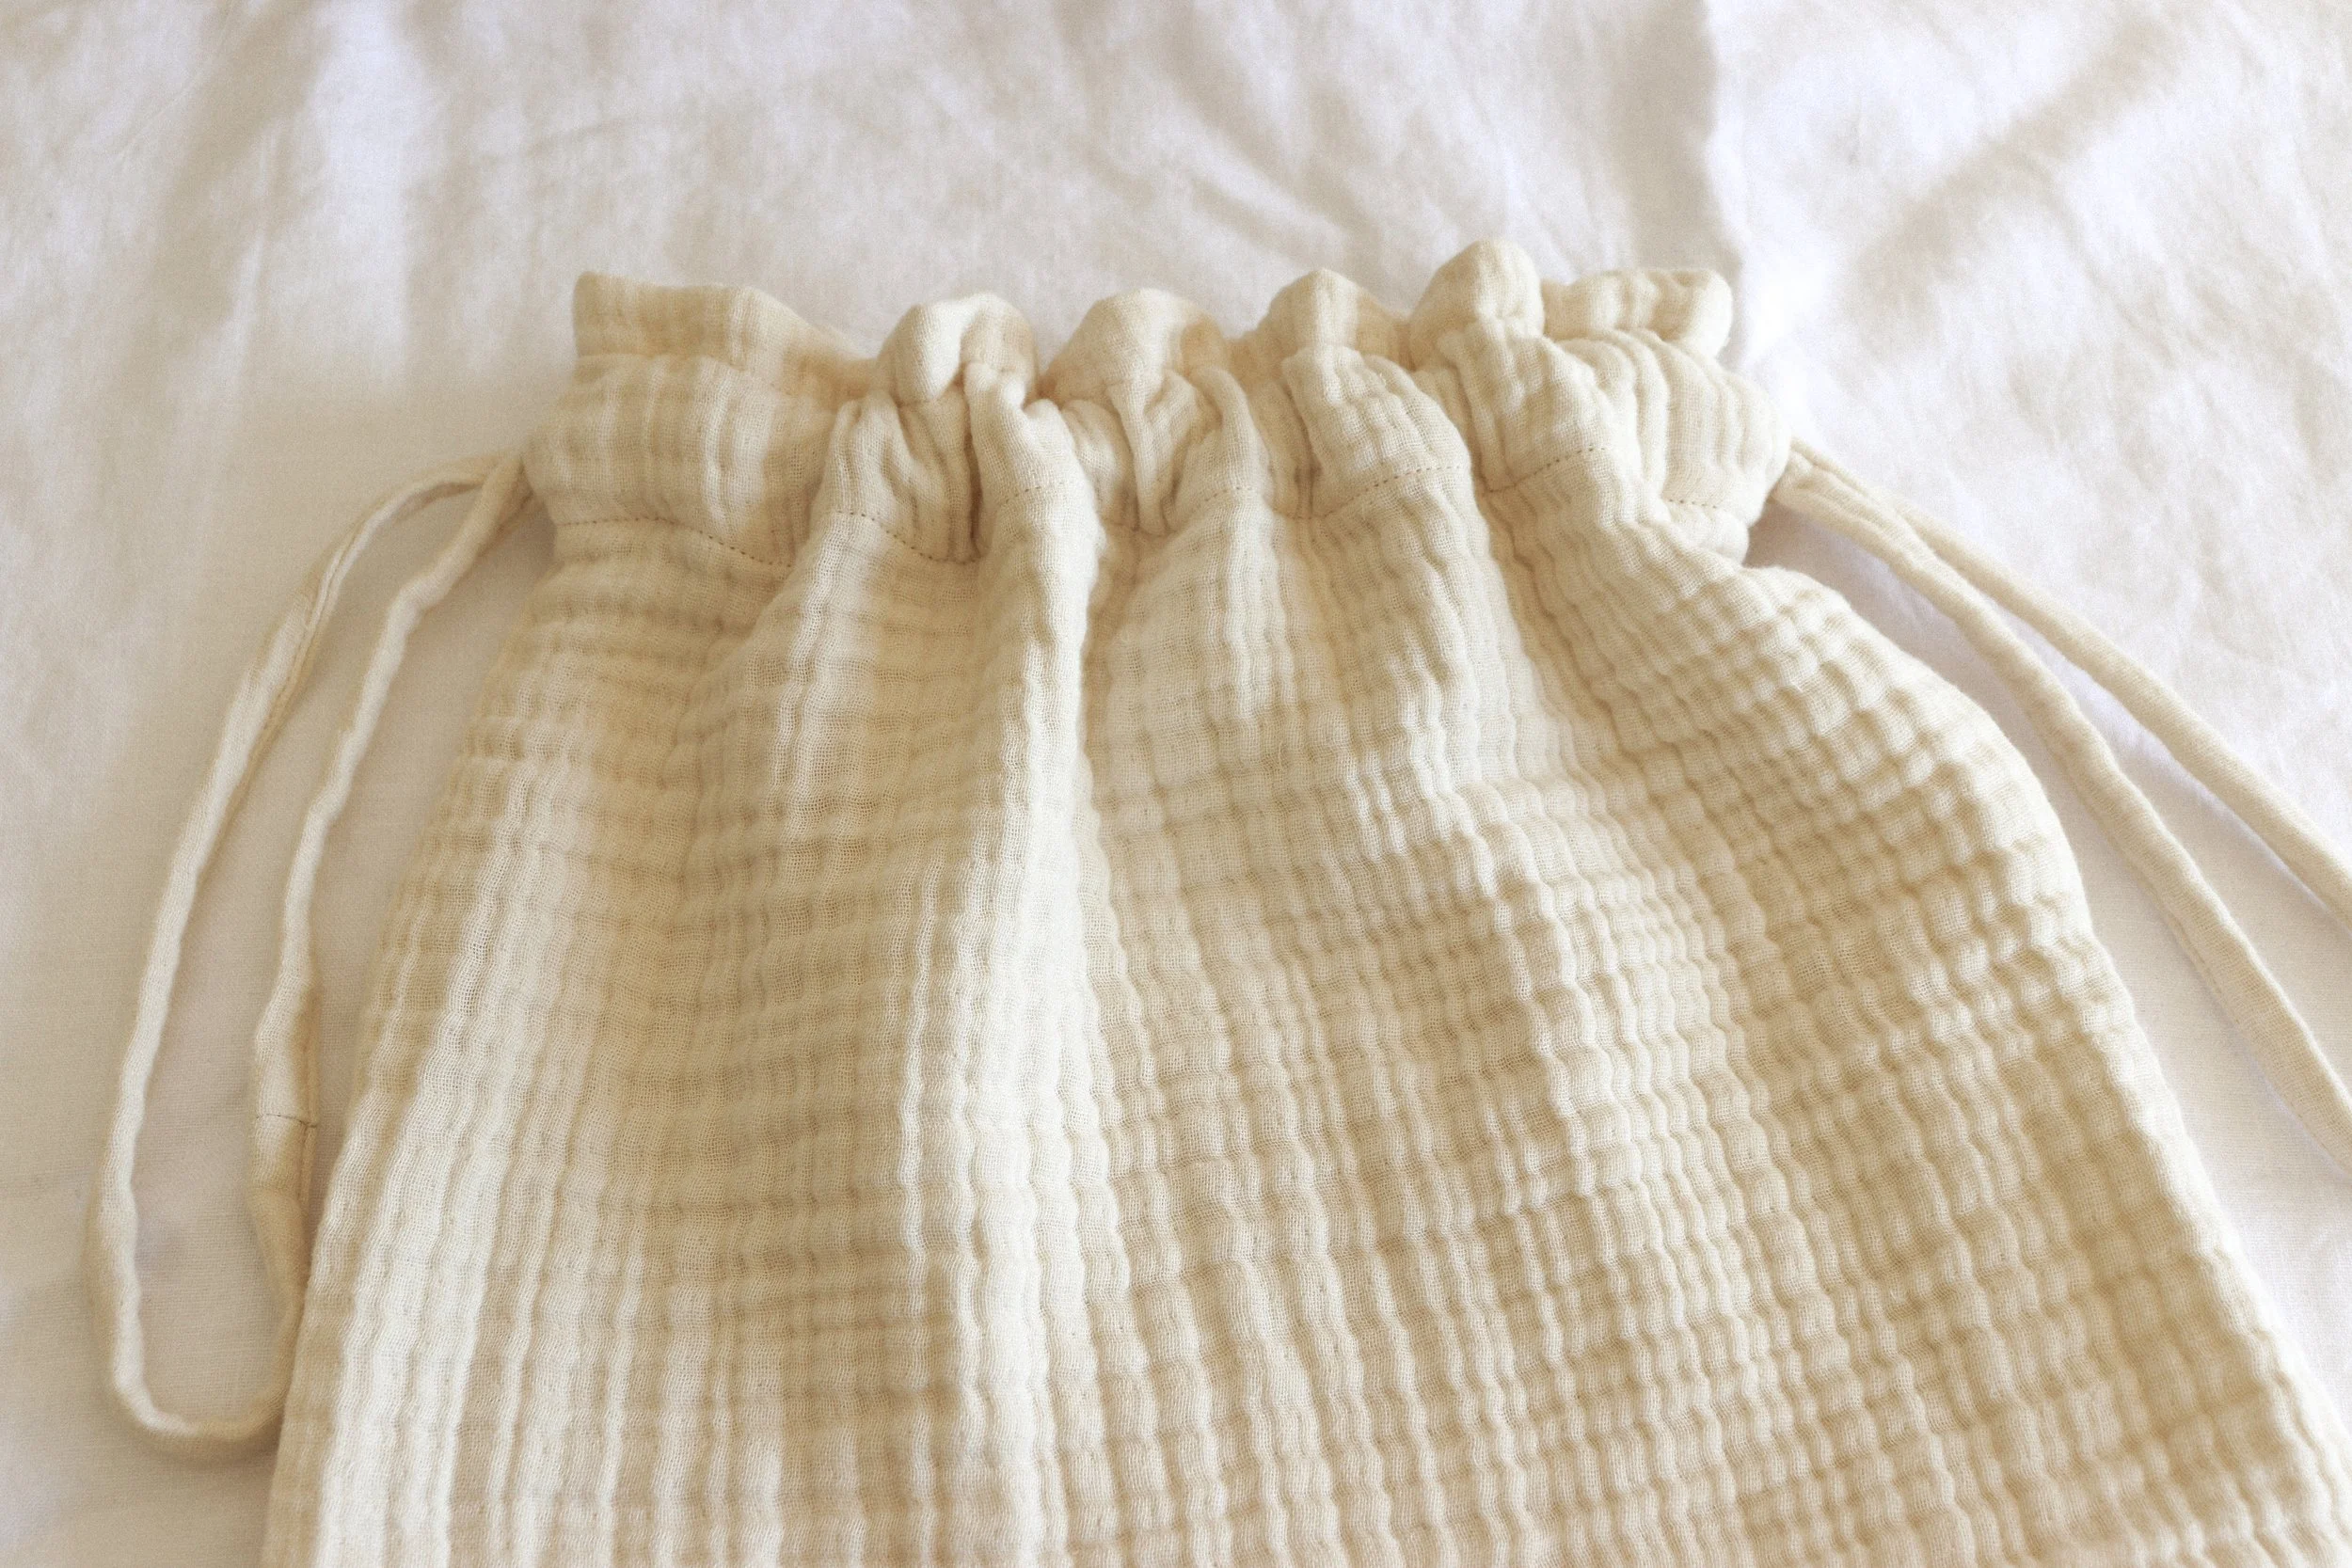
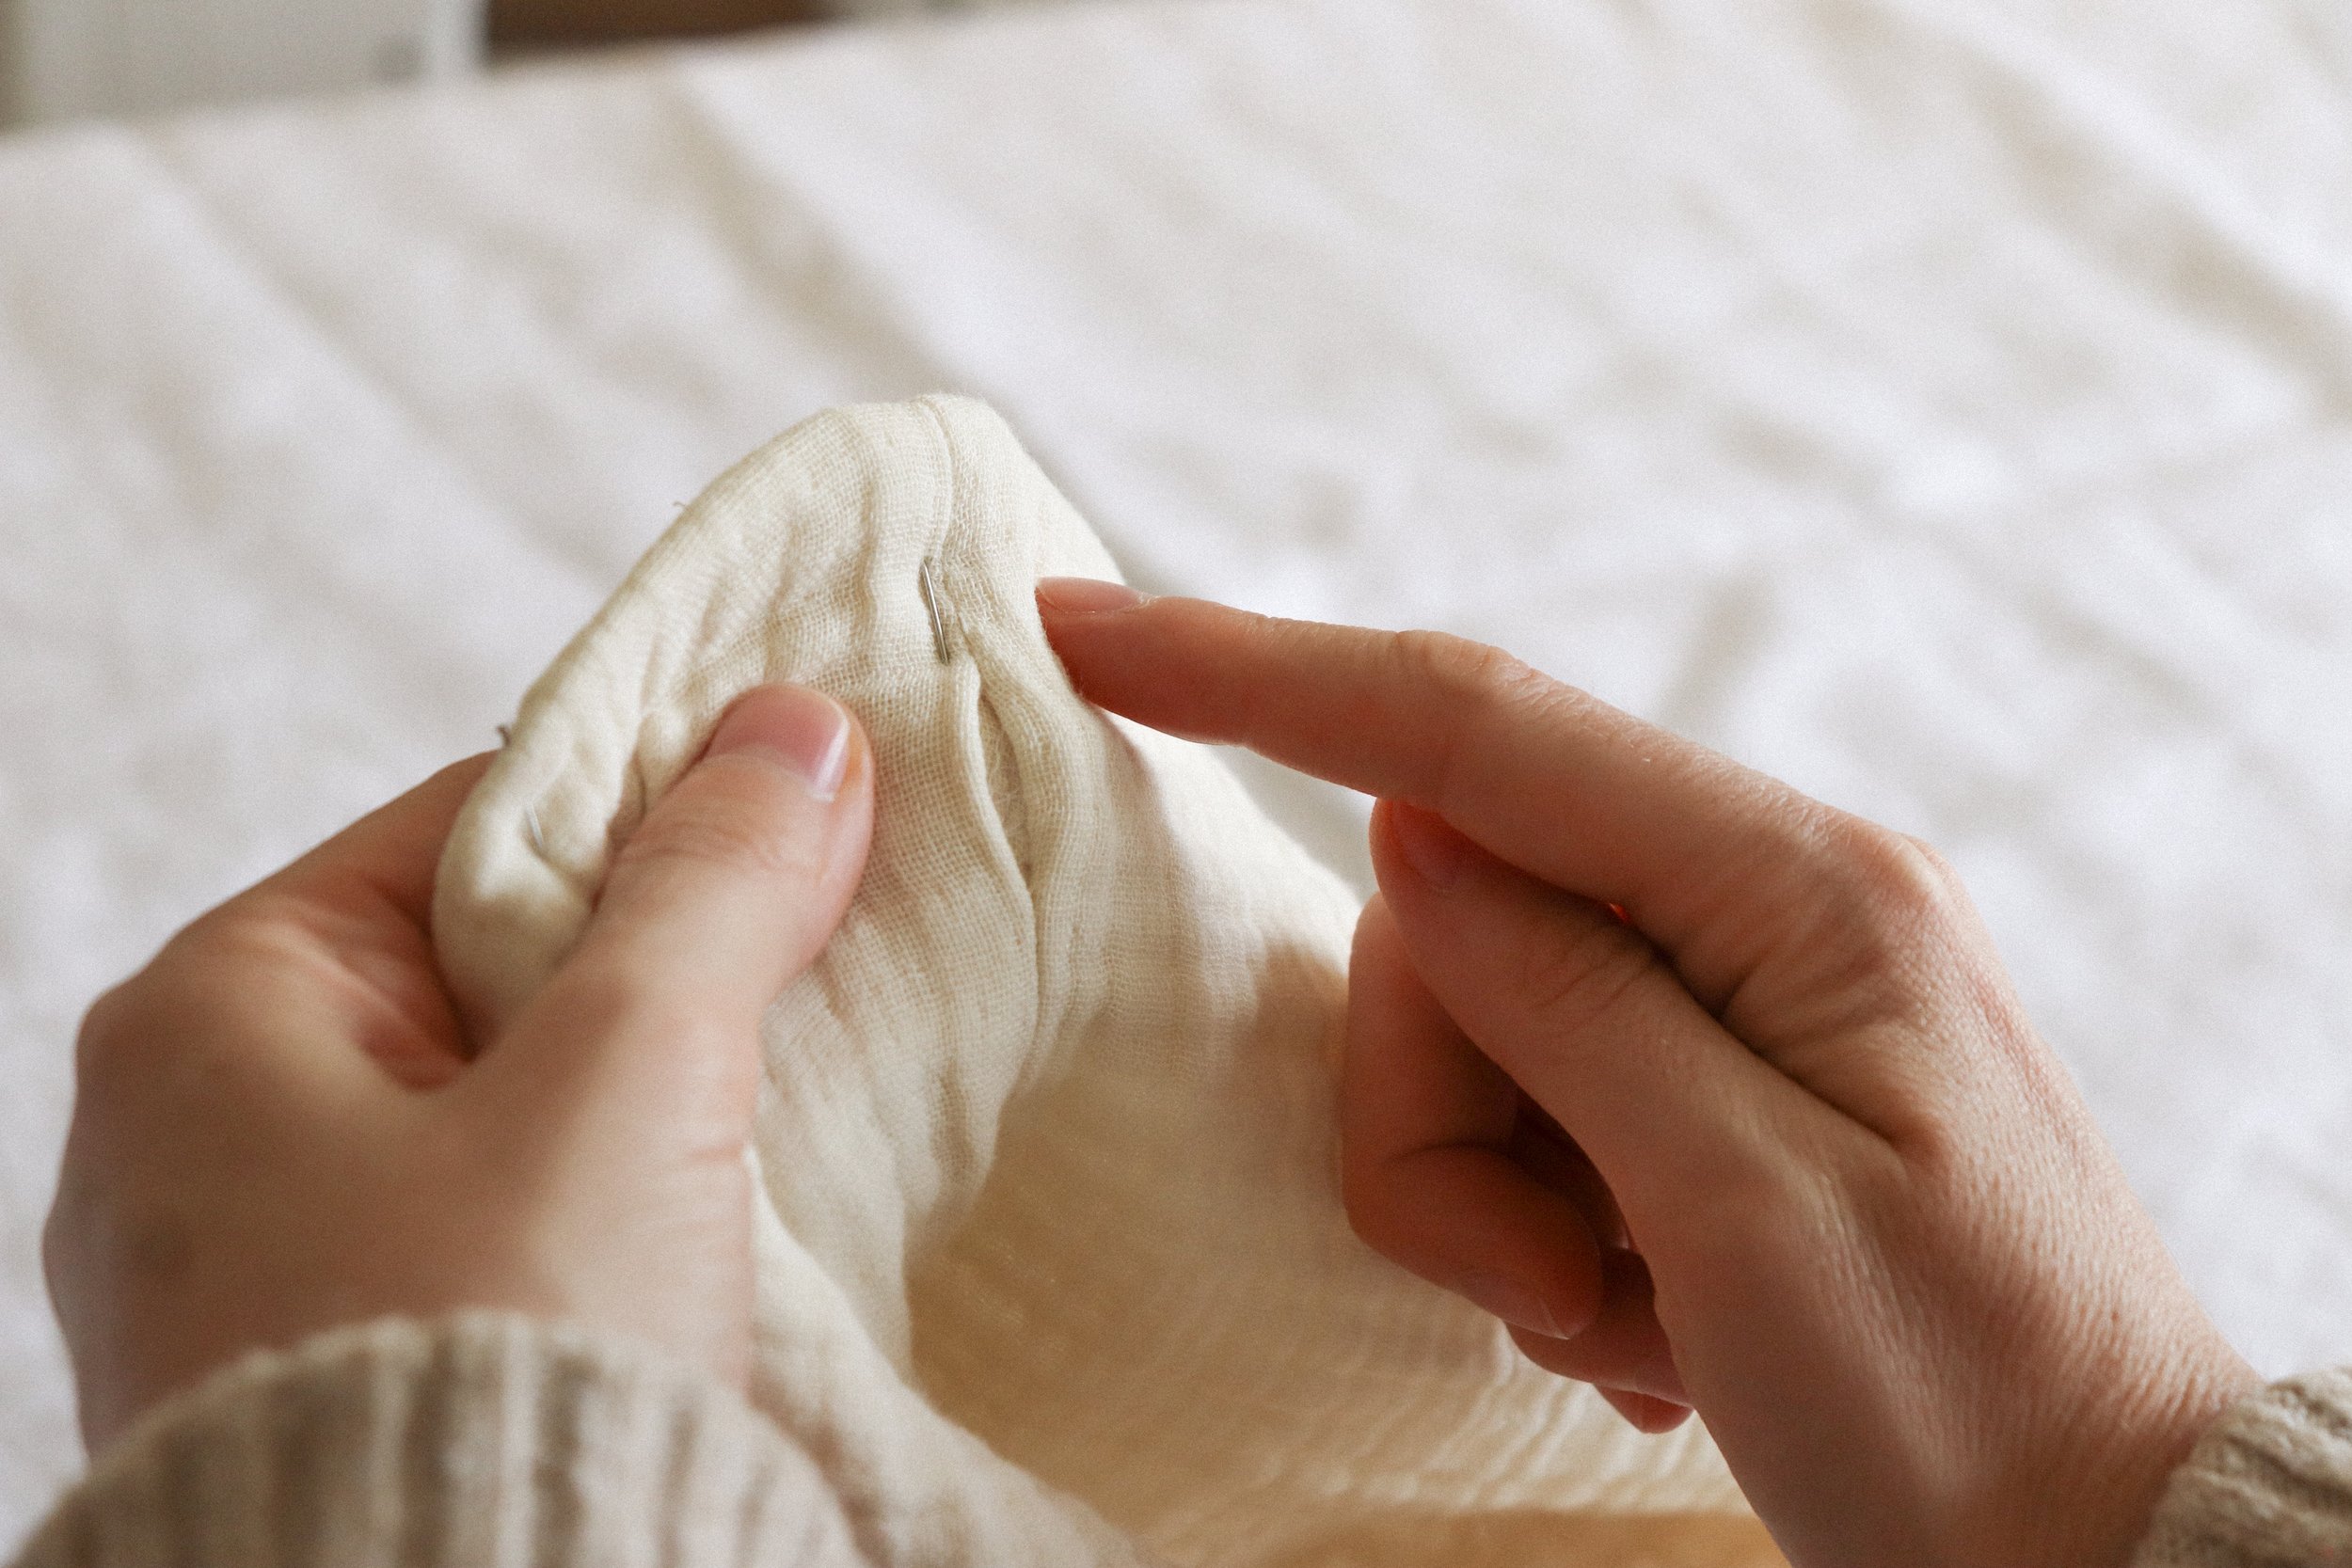
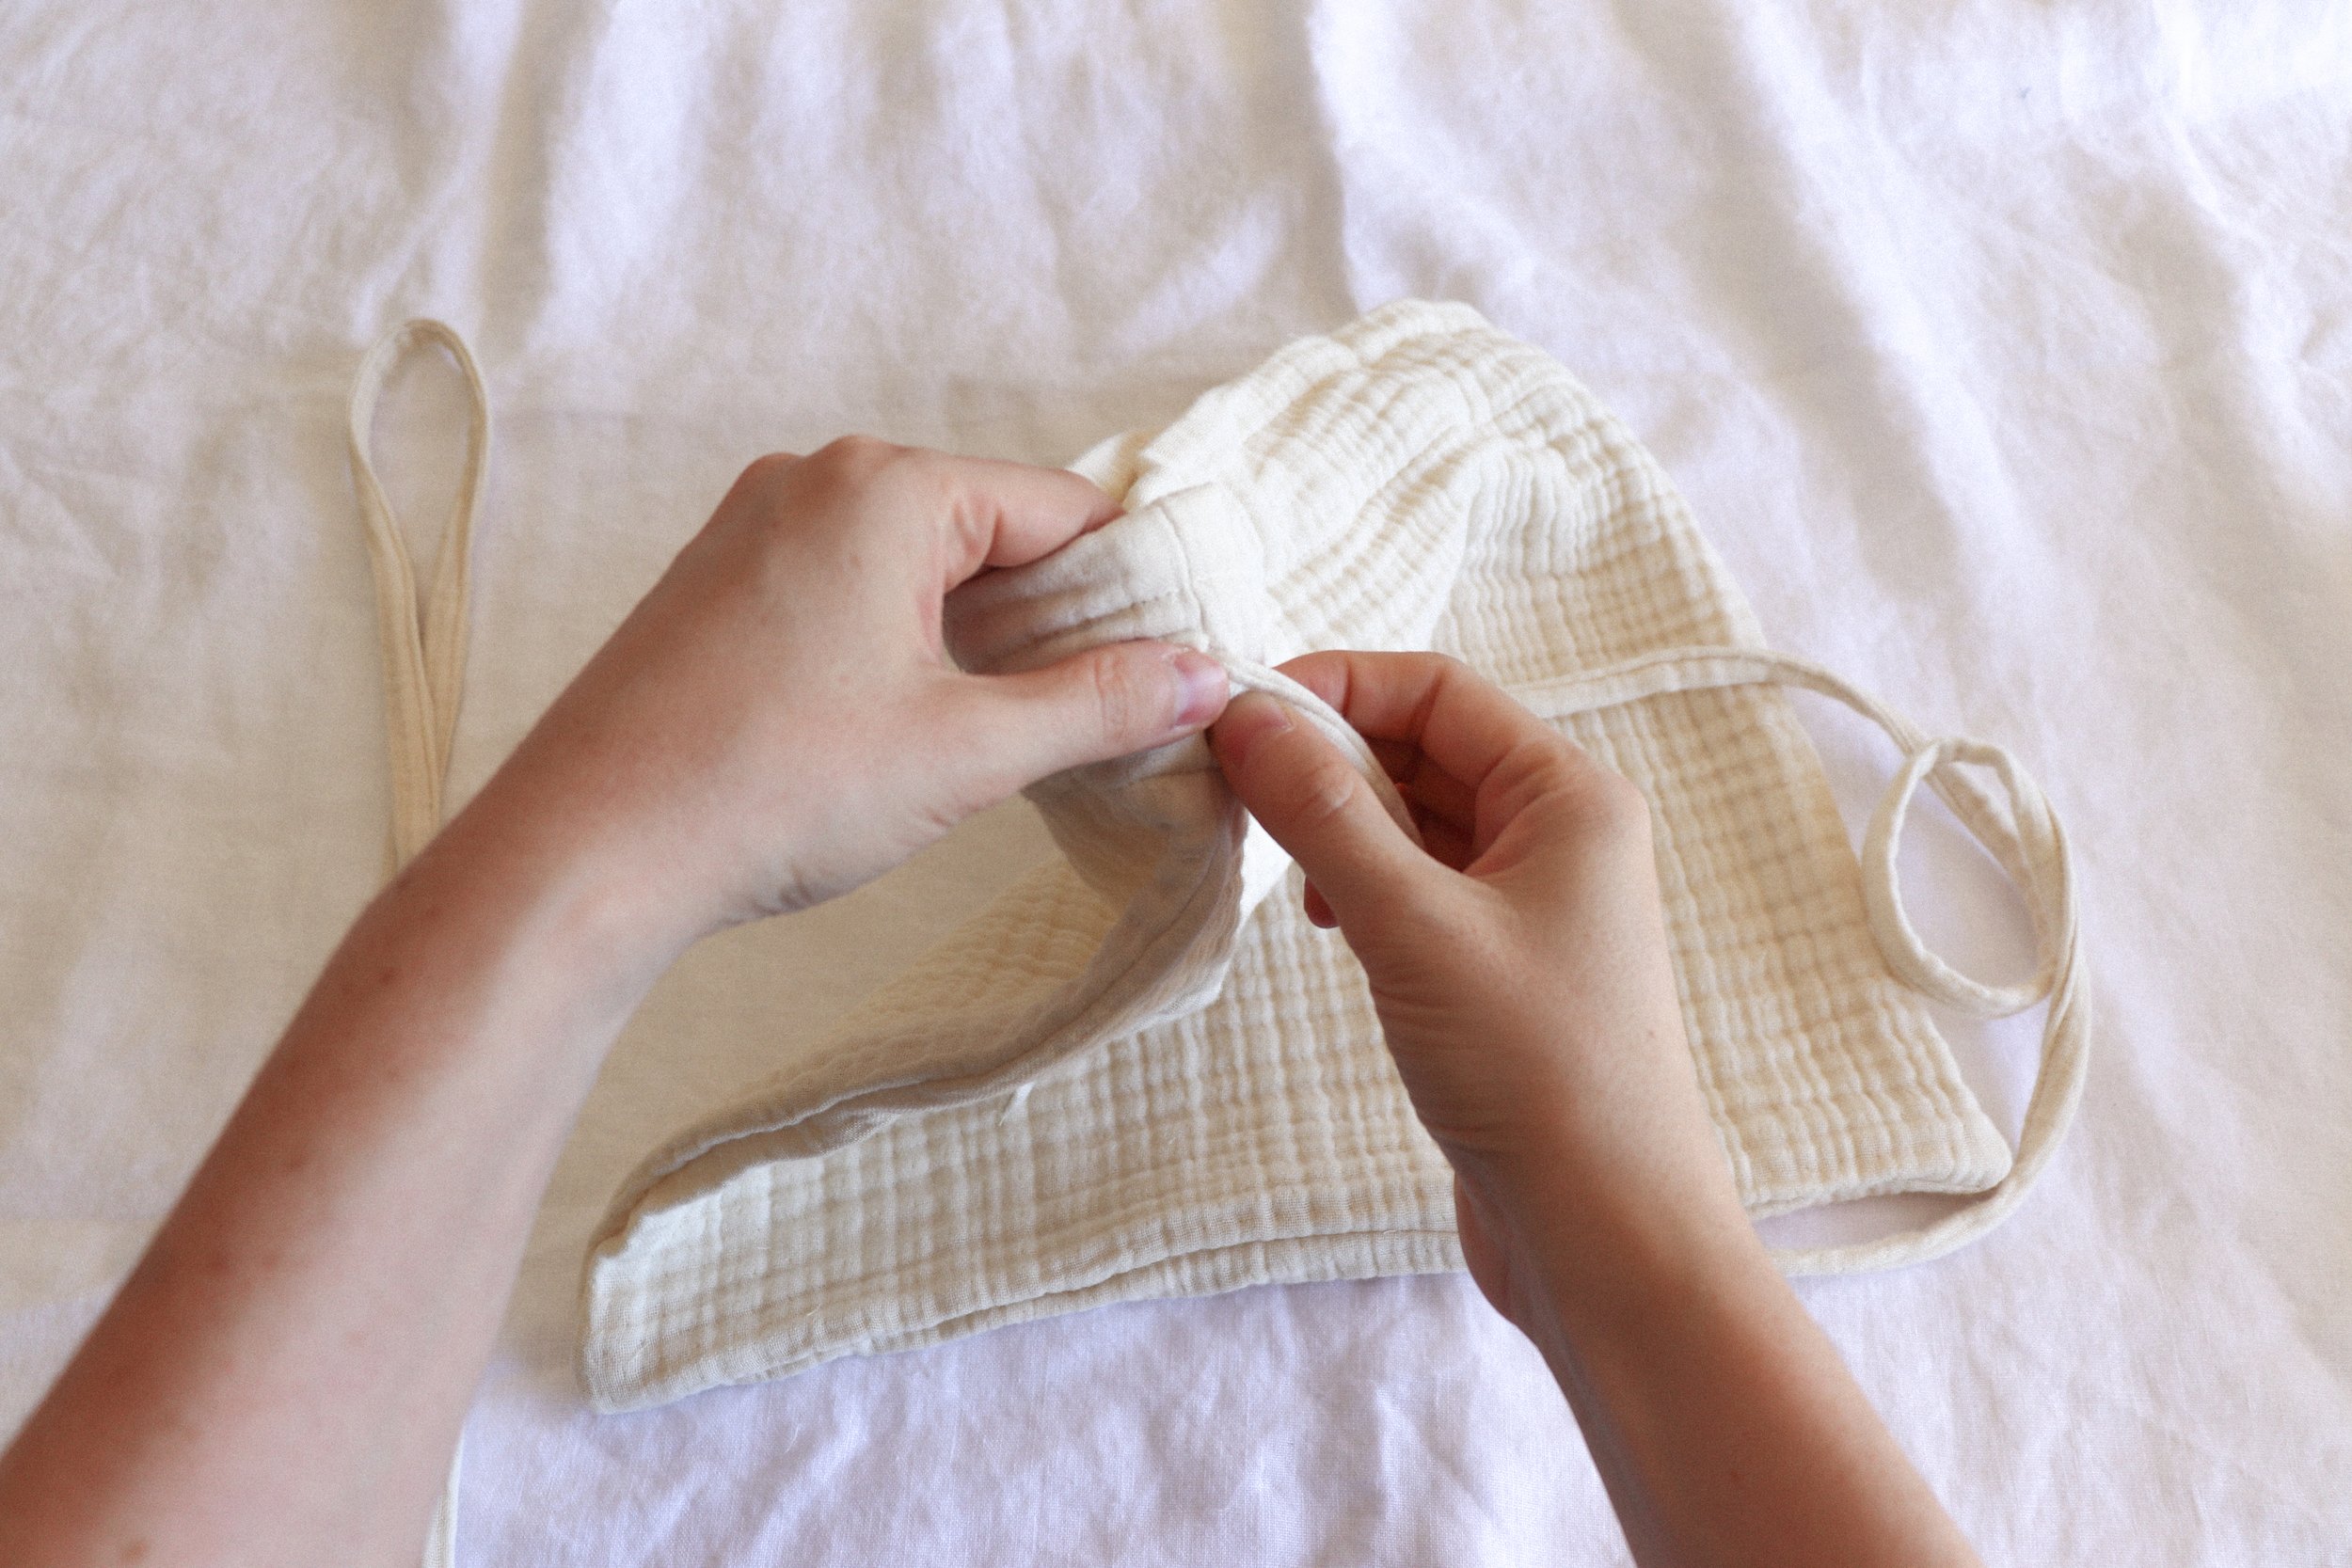
I threaded the tie through the casing, looping it all the way around.
Tip: To make threading easier, attach a safety pin to the end of the tie before you start looping it. If you don’t have one at hand, don’t worry: patience and slow, steady threading work just as well.
This is how it should look once the ties are threaded and you have that satisfying “drawstring” effect.
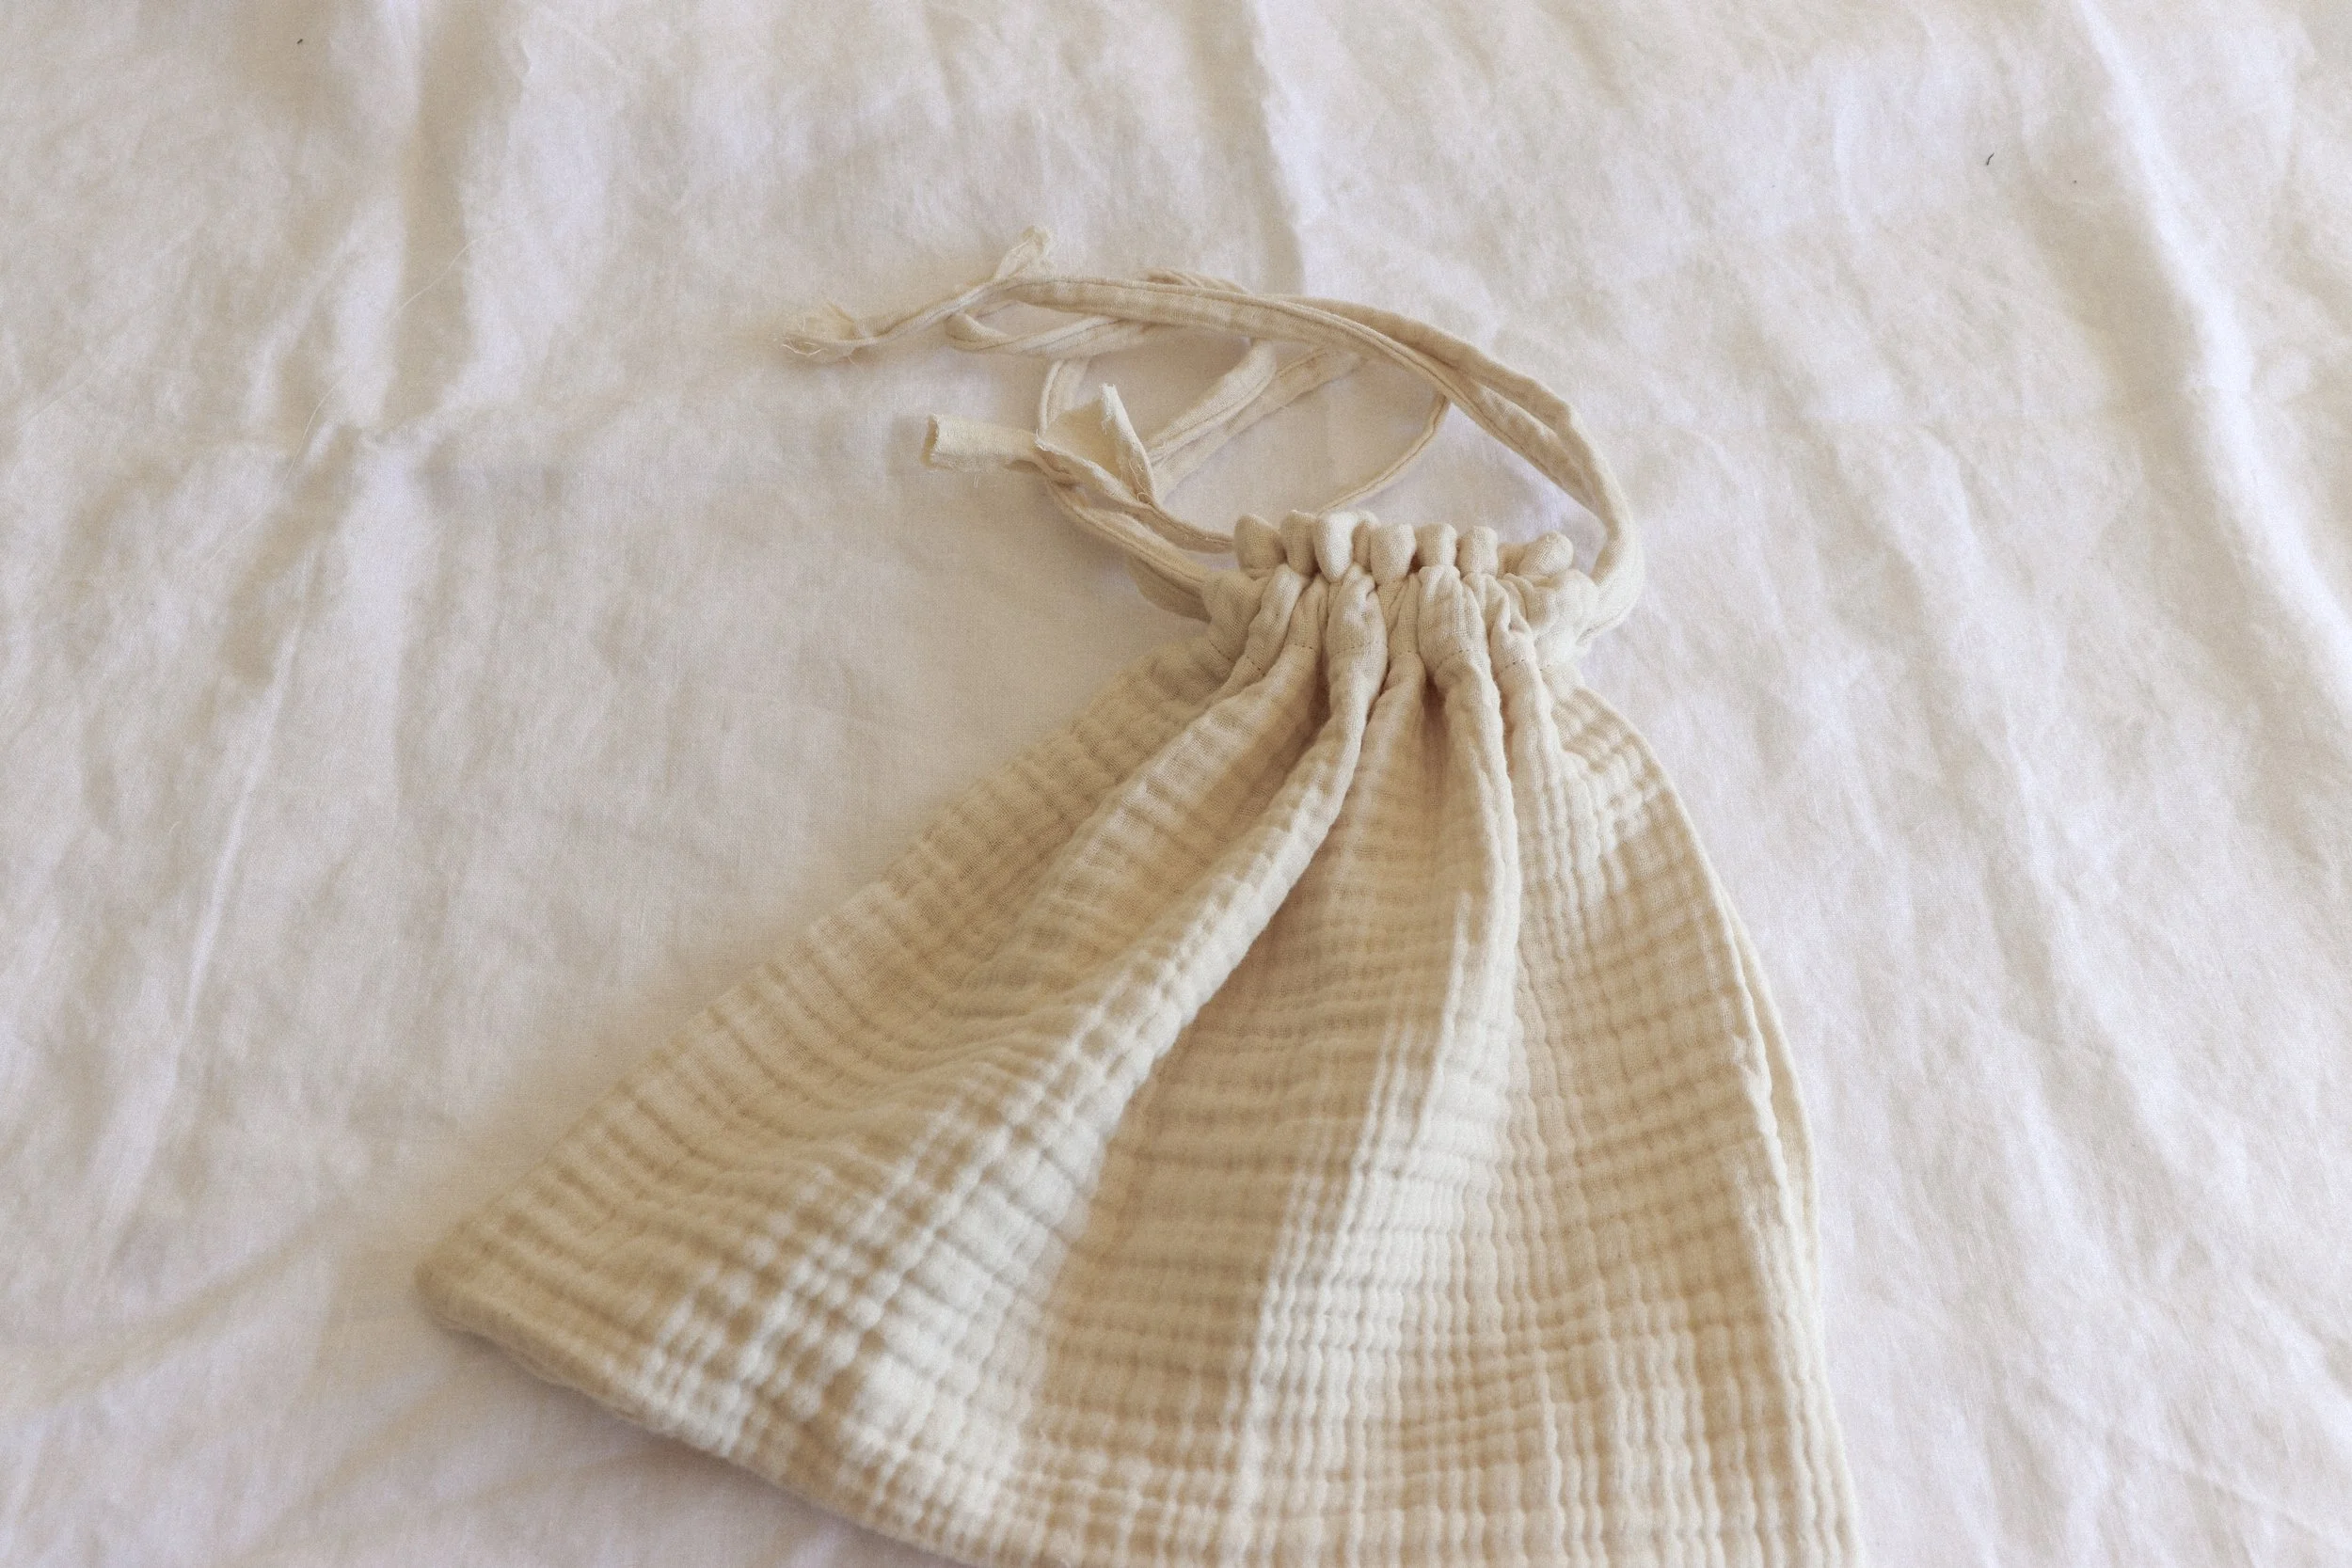
Finally, I sewed the ends of the ties together and added some topstitching to finish them off.
And that’s it!
A simple, functional bag, ready to hold some yarn and creative projects.